

Overview
Lab Details
- This lab walks you through creation of an snapshot of EC2 instance and how to launch a new EC2 instance using the AMI of that snapshot.
- Duration: 30 minutes
- AWS Region: US East (N. Virginia) us-east-1
Introduction
What is a Snapshot?
- A snapshot is defined as a point-in-time copy of your EBS Volume, which is copied to Amazon Simple Storage Service (Amazon S3).
- EBS Volume stands for Elastic Block Store. It’s a service that provides persistent block-level storage for Amazon EC2.
- These snapshots are incremental copies of data, i.e., only unique blocks of EBS volume data that have changed since the last snapshot was taken.
- Only the new and modified blocks from the last snapshot are taken, so it’s called “incremental copy” of data.
- Snapshots contains all the information needed to restore your data starting from the moment it’s created.
- Snapshots are chained together. Due to which, we will be able to properly restore the volumes when needed.
- Snapshots can be deleted.
- When a snapshot is initiated, AWS reads each block, determines if there’s any data on the block, and then includes it.
- Any data written to the volume after the snapshot creation started is included in the EBS Snapshot, even if the snapshot remains in a “pending” state.
- Multi-Volume snapshots allow you to take exact point-in-time, data coordinated, and crash-consistent snapshots across multiple EBS volumes attached to an EC2 instance.
- At the time of snapshot creation, you do not need to stop the instance. Because of this, they are automatically taken across multiple EBS volumes. Just like AMIs, you can share snapshots across AWS accounts and regions by modifying its access permissions.
- Taking copies of snapshots is allowed in AWS.
- Snapshots can be copied only when its status is marked “completed”.
- Snapshots support EBS Encryption.
- Snapshots of encrypted volumes are automatically encrypted.
- Volumes that are created from un-encrypted snapshots can be encrypted on-the-fly.
Architecture Diagram
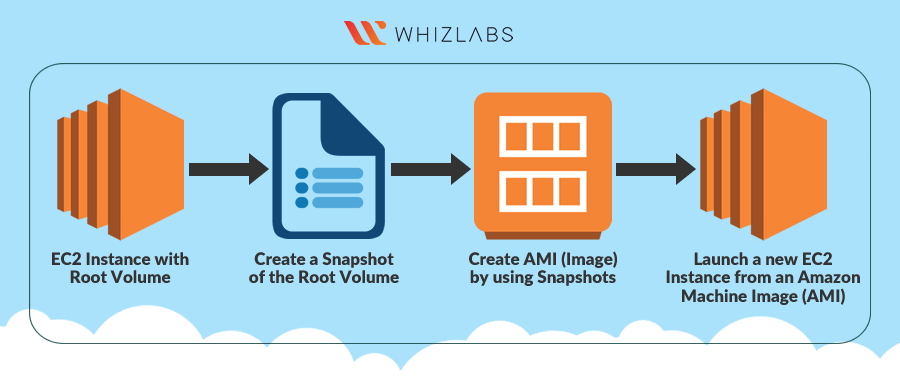
Task Details
- Sign in to AWS Management Console.
- Launch an EC2 instance.
- Create a snapshot from the root volume of your instance.
- Create an AMI from the snapshot.
- Launch an EC2 instance using newly created AMI.
- Test the new EC2 instance created from AMI.
Launching Lab Environment
- To launch the lab environment, Click on the Start Lab button.
- Please wait until the cloud environment is provisioned. It will take less than a minute to provision.
- Once the Lab is started, you will be provided with IAM user name, Password, Access Key, and Secret Access Key.
Note : You can only start one lab at any given time
Lab guide
Lab Steps
Task 1: Sign in to AWS Management Console
- Click on the Open Console button, and you will get redirected to AWS Console in a new browser tab.
-
On the AWS sign-in page,
- Leave the Account ID as default. Never edit/remove the 12 digit Account ID present in the AWS Console. otherwise, you cannot proceed with the lab.
- Now copy your User Name and Password in the Lab Console to the IAM Username and Password in AWS Console and click on the Sign in button.
- Once Signed In to the AWS Management Console, Make the default AWS Region as US East (N. Virginia) us-east-1.
Task 2 : Launch an EC2 Instance
- Make sure you are in the US East (N. Virginia) us-east-1 Region.
- Navigate to Services menu in the top, then click on EC2 in the Compute section.
- Click on Instances from the left side bar and then click on Launch Instances
- Name : Enter MyEC2Server

-
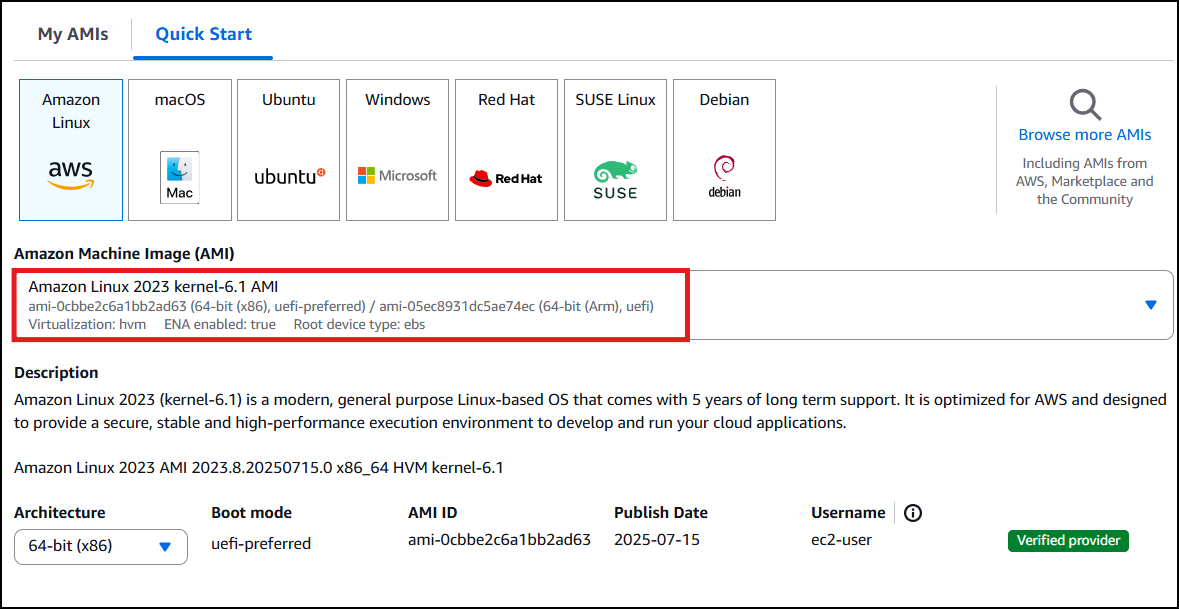
For Amazon Machine Image (AMI): Search for Amazon Linux 2023 kernel-6.1 AMI in the search box and click on the Select button.
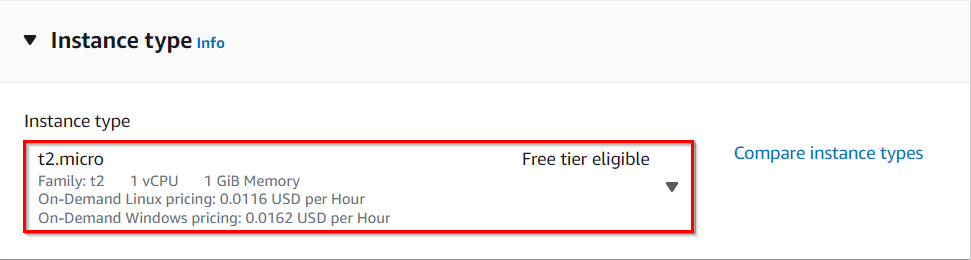
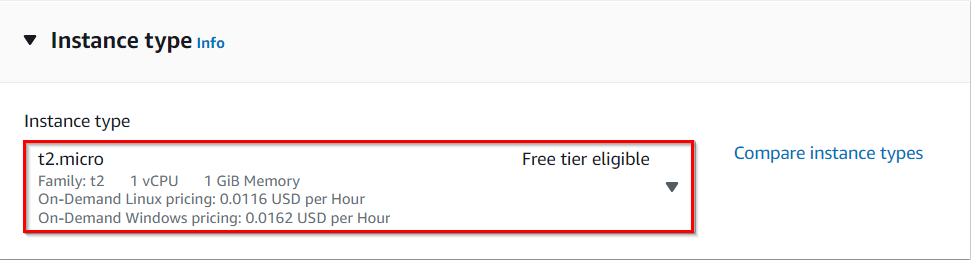
- For Instance Type: select t2.micro
-
For Key pair: Select Create a new key pair Button
- Key pair name: WhizKey
- Key pair type: RSA
- Private key file format: .pem
- Select Create key pair Button.
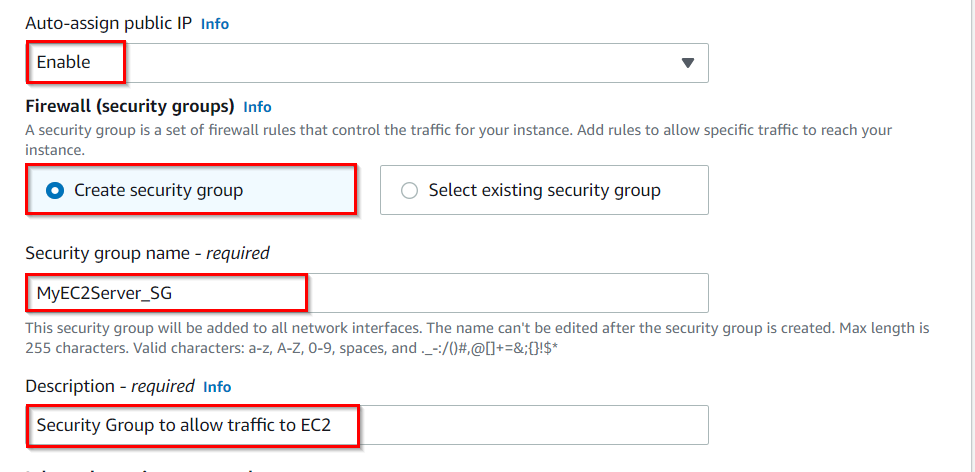
- In Network Settings Click on Edit:
- Auto-assign public IP: Enable
- Select Create new Security group
- Security group name : Enter MyEC2Server_SG
- Description : Enter Security Group to allow traffic to EC2
- Check Allow SSH from and Select Anywhere from dropdown
-
To add SSH,
- Choose Type: SSH
- Source: Select Anywhere
-
For HTTP, Click on Add security group rule
- Choose Type: HTTP
- Source: Select Anywhere
- Click on Advanced Details and under the User data: section, enter the following script to create an HTML page served by an Apache httpd web server.
- Keep Rest thing Default and Click on Launch Instance Button.
- Select View all Instances to View Instance you Created
- Launch Status: Your instances are now launching, Navigate to Instances page from left menu and wait the status of the EC2 Instance changes to running and health check status changes to 2/2 checks passed .

- Select the Instance and Copy the Public IPv4 Address
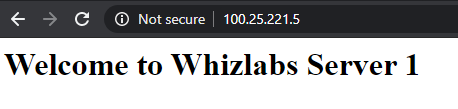
- To test if the HTML page published, copy the Public IP address and run it on the browser.
Task 3 : Create a Snapshot of EC2 Instance
- Navigate to Snapshots section under Elastic Block Store from the left menu.
-
Click on Create Snapshot button.

- In the Create snapshot page, fill the details below.
- Resource type: Select Instance
- Instance ID: Select MyEC2Server from the drop-down menu.
- Description : Enter MyEC2Snapshot
- Encrypted: Leave as it is.
-
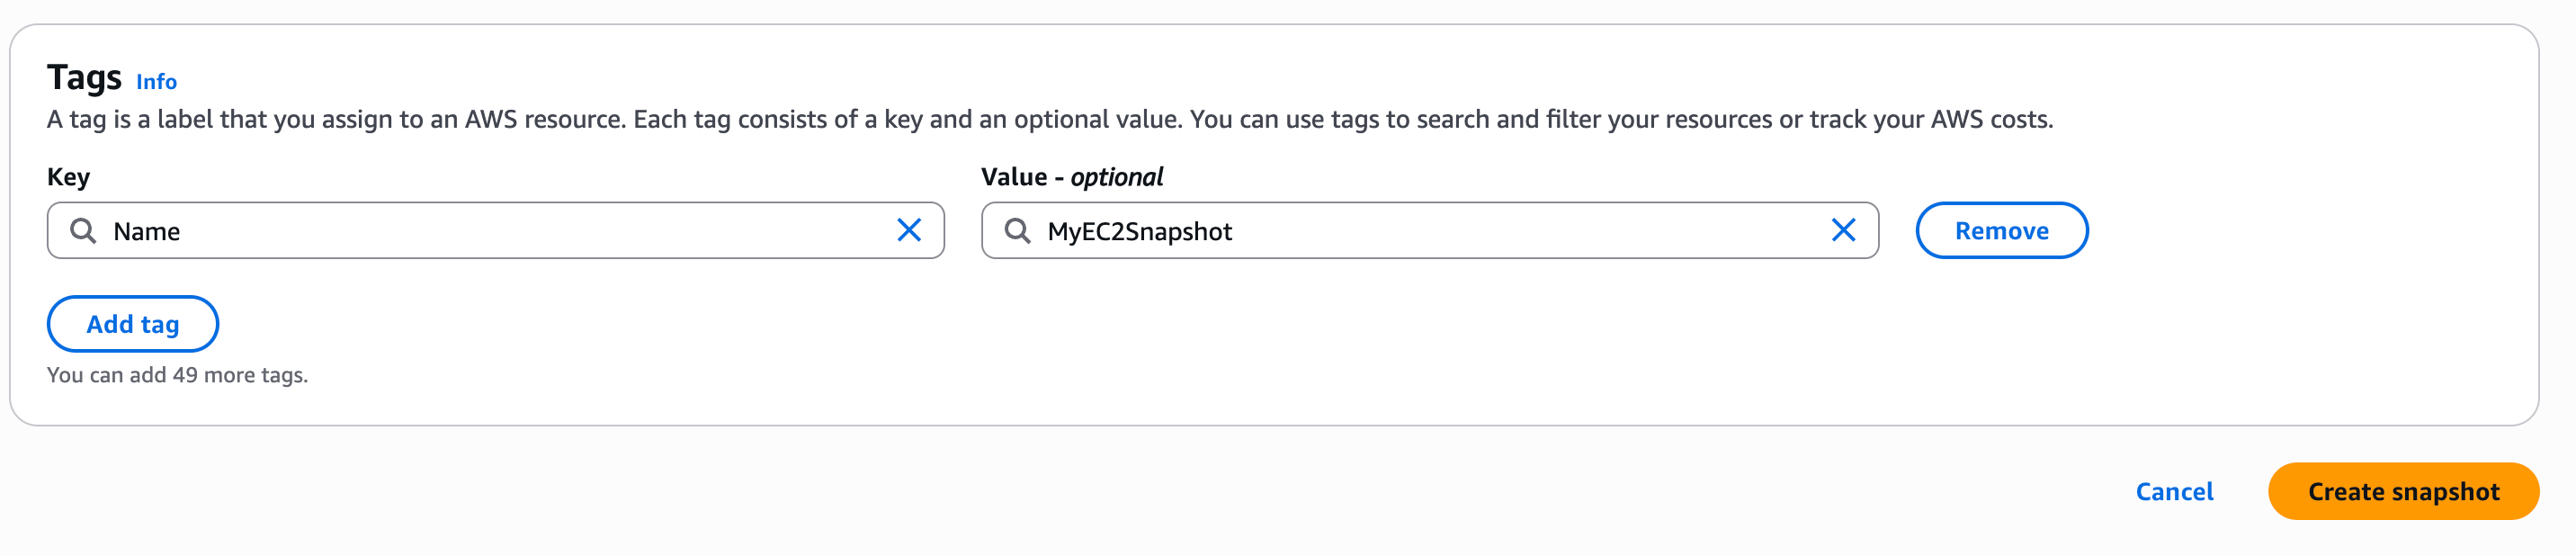
Tags Click on Add Tags button
- Key : Enter Name
-
Value : Enter MyEC2Snapshot
- Once the snapshot creation is completed, the status will change to completed.

Task 4 : Create an AMI from the Snapshot
- Select the Snapshot that you have created.
- Click on the Action button on top right menu and select Create image from snapshot.
-
A pop-up window will show up. Provide the details as mentioned below to configure your AMI:
- Name: Enter MyEC2AMI
- Description: Enter My EC2 AMI
- Leave other settings as default.
- Click on Create Image button.
- Navigate to AMIs under IMAGES in the left menu to see the newly created AMI.

Task 5 : Launch an EC2 Instance using newly created AMI
- Select the AMI that you have created and click on the Launch Instance from AMI button to launch a new instance.
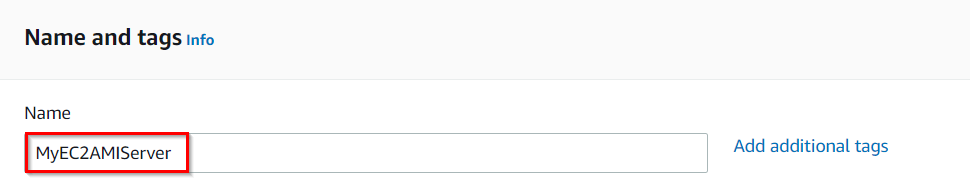
- Name : Enter MyEC2AMIServer
- For Instance Type: select t2.micro
- For Key pair: Select the key you created previously.
- In Network Settings :
- Auto-assign public IP: Enable
- Select Select existing security group and Select the group created earlier
- Click on Advanced Details and under the User data: section, enter the following script to create an HTML page served by an Apache httpd web server.
- Note: After pasting the user data, make sure to remove extra spacing.
- Keep Rest thing Default and Click on Launch Instance Button.
- Select View all Instances to View Instance you Created
- Launch Status: Your instances are now launching, Navigate to Instances page from left menu and wait the status of the EC2 Instance changes to running

Task 6 : Test the new EC2 instance created from AMI
- Once your new instance status is running, copy its Public IP.
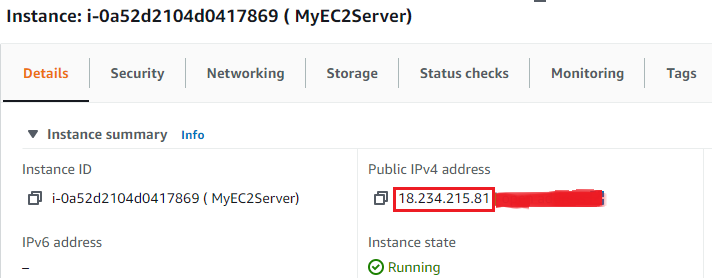
- Paste it into your browser.
- You will be able to see the output of MyEC2AMIServer is the same as the one we got from the initial EC2 instance MyEC2Server.
Do You Know ?
When creating an EC2 instance from a snapshot, the snapshot serves as a point-in-time copy of the root volume or additional volumes attached to an existing instance. By utilizing snapshots, you can capture the entire state of the volume, including the operating system, applications, and data.
- Once the lab steps are completed, please click on the Validation button on the right side panel.
Completion and Conclusion
- You have successfully launched an EC2 Instance and created a Snapshot from it.
- You have successfully created an AMI from the Snapshot.
- You have successfully launched a new EC2 instance from the AMI and tested it.
End Lab
- Sign out of AWS Account.
- You have successfully completed the lab.
- Once you have completed the steps, click on End Lab from your IP Lab Portal and wait till the process gets completed.
What gets checked
When you press Check my work, the platform verifies each of these:- Launch an EC2 Instance — Check whether an EC2 Instance is launched or not.
- Validate EC2 Instance Type t2.micro — Check whether the EC2 instance type is t2.micro.
- Launch EC2 AMI type Amazon Linux — Check whether the EC2 instance is launched using an Amazon AMI.
- Create EC2 Snapshot — Check whether EC2 instance snapshot is created or not
- Create an EC2 instance AMI — Check whether the AMI is created from EC2 or not