

Overview
Lab Details
- This lab will walk you through the steps to create a SQS Queue, set visibility and delivery delay time. Send a message from the queue and receive the message in the lambda function.
- Duration: 30 minutes
- AWS Region: US East (N. Virginia) us-east-1
Introduction
SQS(Simple Queueing Service)
Fact: This was the first ever AWS service offering made publicly available.- Amazon SQS is a reliable, easy to manage, scalable queuing service. SQS is a simple and cost effective cloud application.
- AWS SQS can be used to transmit any amount of data, at any level of throughput, without losing messages.It doesn’t interrupt other services when run continuously.
- SQS helps to reduce admirative task by scaling high-available messaging clusters. While we pay only for what we use. AWS SQS helps us to save important data which could be lost if an entire application goes down or if any component becomes unavailable.
- SQS queue acts as a buffer between the application components that receive the data and the other parts that process the data in the system.
- SQS is used for message-oriented architecture. If the processing server cannot process the work fast enough (for whatever reason) the work is queued so that the processing servers can work on it when they have available resources to process the request. This means that work is not lost due to insufficient resources.
- The default Amazon SQS ensures that each message is delivered at least once.
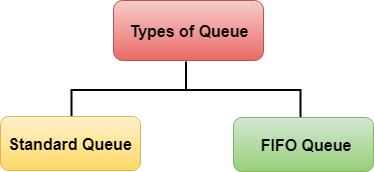
What is Visibility TimeOut
- Visibility timeout is a time duration which AWS SQS avoids the other components from receiving and processing the messages.
-
Case Study:
- Lets try to understand the definition by an example. So if you keep your visibility timeout to 1 minute for a big data job, what’s going to happen is the message is going to come back into the queue because it’s not going to complete in 1 minute.
- Let’s say it takes five minutes to actually process the large amount of data.The message is going to become visible in the queue and then another EC2 instance will pick it up. Because of this you could be delivering your messages multiple times because your visibility timeout is too low.
- Default Visibility timeout is 30 seconds.
- Increase it if your task takes > 30 seconds.
- Maximum it can go up to is 12 hours.
What is Delay Queue
-
Delay queue allows us to delay/postpone the delivery of a new message for a given period of time. We can easily turn any queue into a delay queue by configuring SetQueueAttributes to set the queue’s DelaySeconds attribute.
- If we create a delay queue, any message that has been sent to this queue will remain invisible to the consumer for the configured delay time.
- To create a delay queue set DelaySeconds attribute to a value between 0 to 900 seconds.
-
Case Study:
- Let’s try to understand the definition by an example. Consider a case where an application is trying to insert millions of data into a database. The application will send a message about the availability of this new data that has been recently inserted to other subsystems, which in turn process this message and subsequently make updates to the same row. Now there is a dependency that until the first batch completes its job and commits after the updates the next batch should not get triggered. If the message gets triggered before the updates complete, it would fail the next batch. In this case, delay delivery helps.
Architecture Diagram
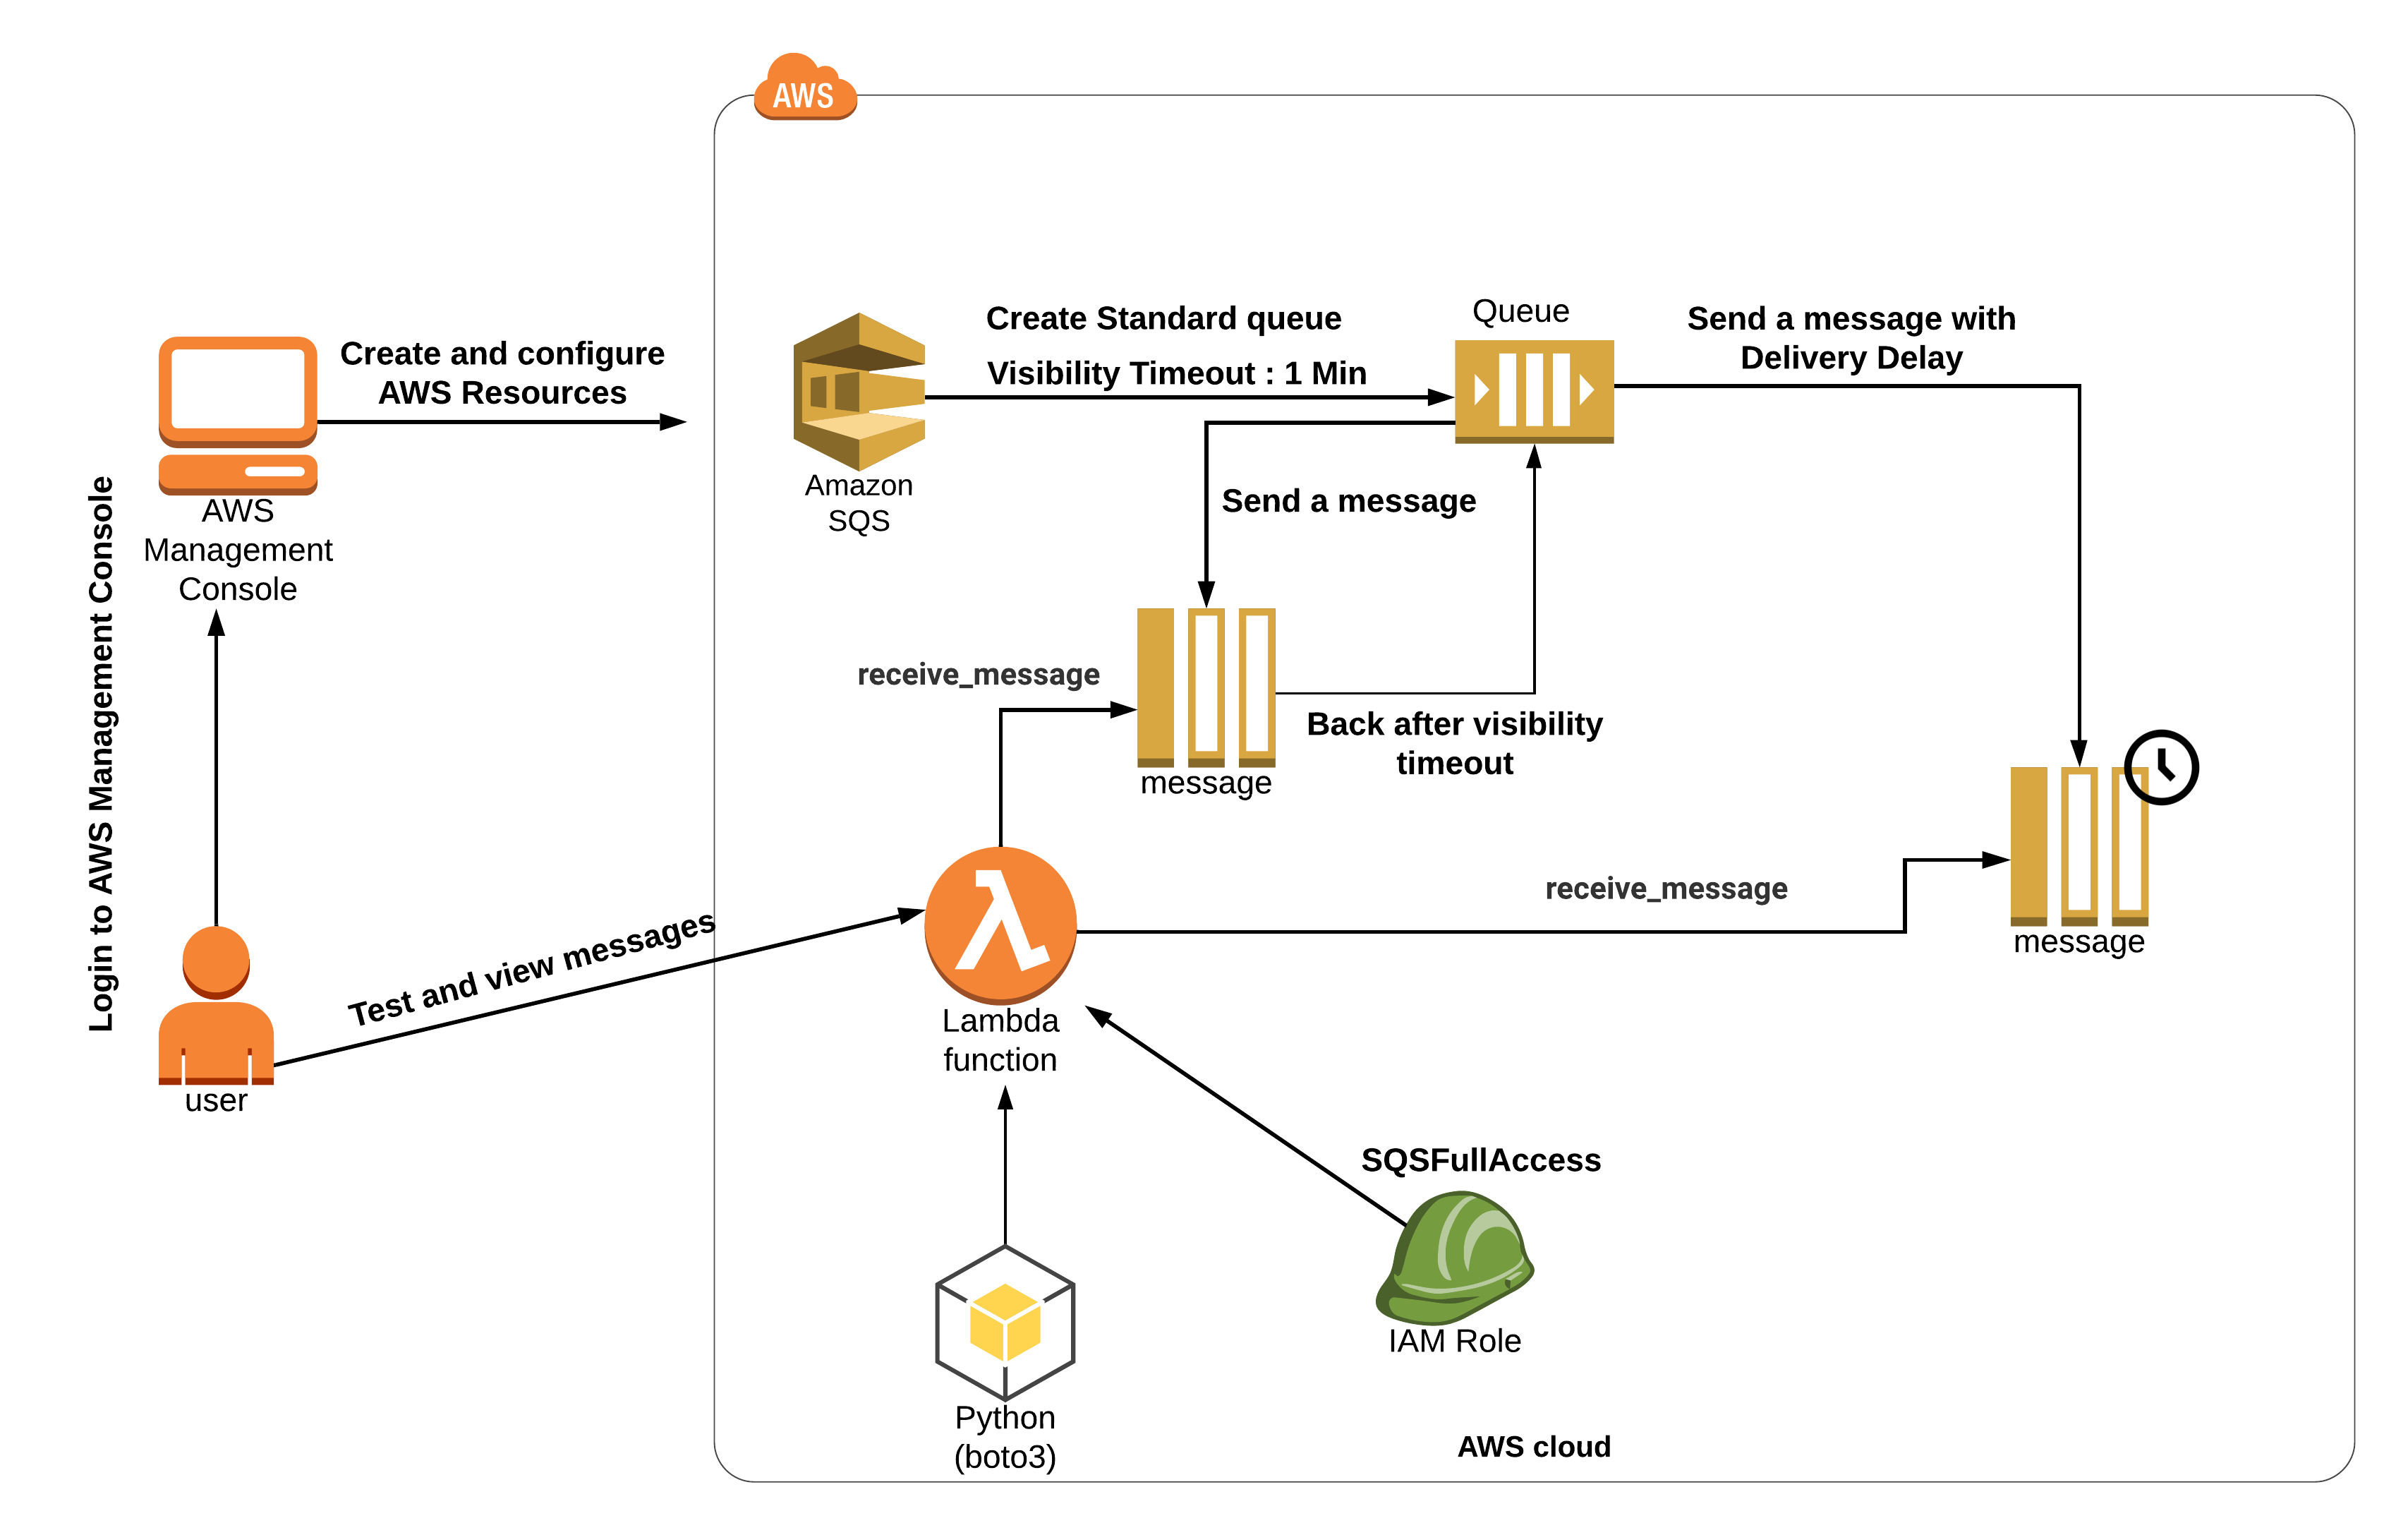
Task Details
- Sign to AWS Management Console
- Create a SQS queue.
- Create a Lambda function.
- Send a message with Visibility Timeout.
- Purge the Queue
- Send a message with Delivery Delay
- Purge the Queue
- Deleting AWS resources
Launching Lab Environment
- To launch the lab environment, Click on the Start Lab button.
- Please wait until the cloud environment is provisioned. It will take less than a minute to provision.
- Once the Lab is started, you will be provided with IAM user name, Password, Access Key, and Secret Access Key.
Note : You can only start one lab at any given time
Lab guide
Lab Steps
Task 1: Sign in to AWS Management Console
- Click on the Open Console button, and you will get redirected to AWS Console in a new browser tab.
-
On the AWS sign-in page,
- Leave the Account ID as default. Never edit/remove the 12 digit Account ID present in the AWS Console. otherwise, you cannot proceed with the lab.
- Now copy your User Name and Password in the Lab Console to the IAM Username and Password in AWS Console and click on the Sign in button.
- Once Signed In to the AWS Management Console, Make the default AWS Region as US East (N. Virginia) us-east-1.
Task 2: Create a SQS Queue
- Navigate to the Services menu on the top, select Simple Queue Service under Application Integration.
- Make sure you are in the N. Virginia region.
- Click on the Create queue button.
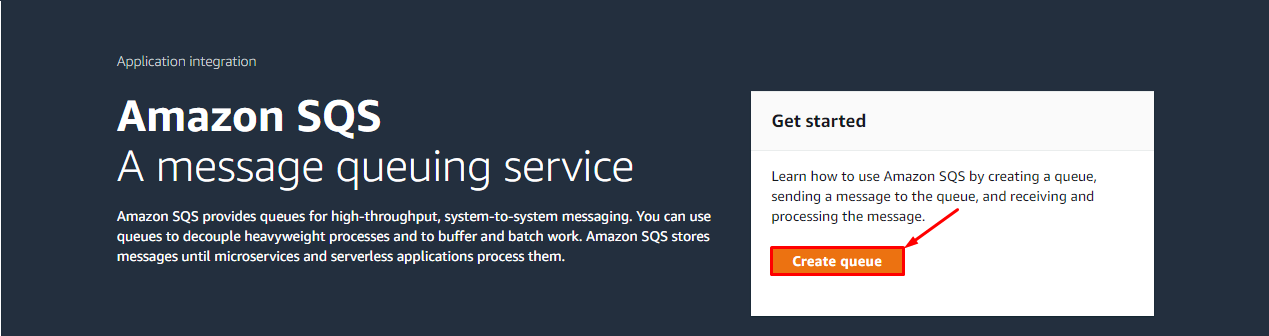
-
Details :
- Type : Select Standard
- Name : Enter IP Lab Portal-sqs
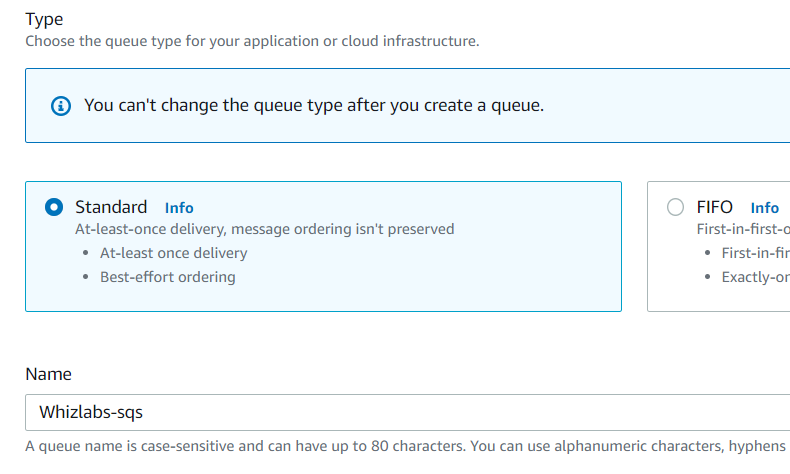
-
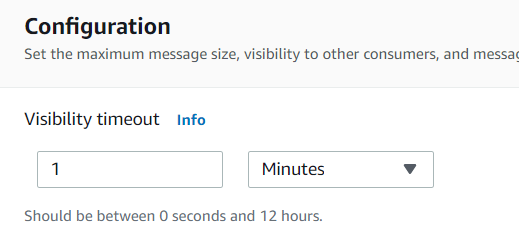
Configuration :
- Visibility timeout : Enter 1 Minute
- Leave everything as default.
- Click on the Create queue button.
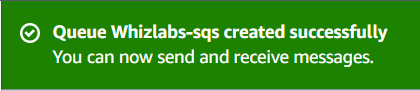
-
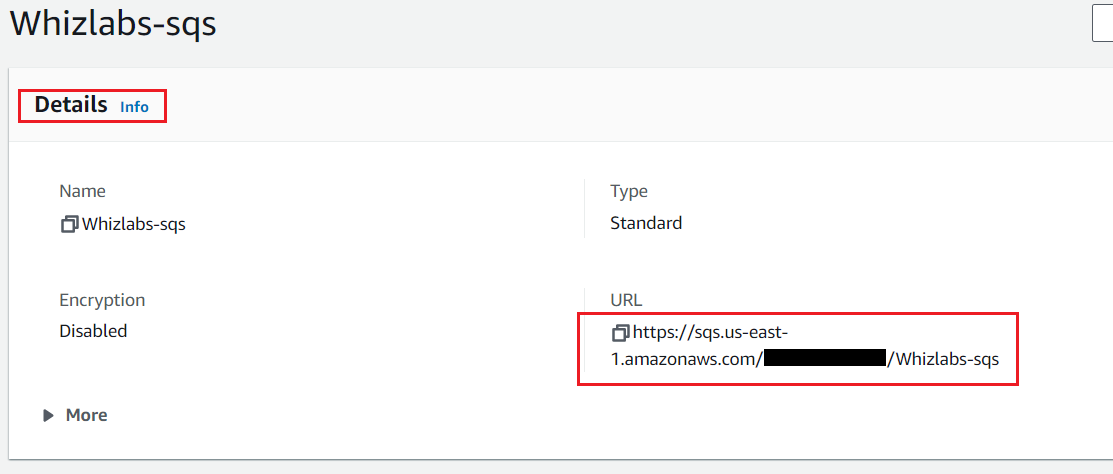
Now copy the Queue URL under Details and place it in the text editor, we will be using this while creating the lambda function.
Task 3: Create a lambda function
- Click on the link https://console.aws.amazon.com/lambda/home?region=us-east-1#/functions to open the Lambda console in a new tab in the browser. It is important to have both SQS and Lambda functions opened in two tabs.
- Make sure you are in the US East (N. Virginia) region.
-
Click on the Create Function
- Choose Author From Scratch.
- Function name: Enter my_sqs_Lambda
- Runtime: Select Python 3.13
- Permissions: Click on the Change default execution role and choose Use an existing role
- Existing role: Select whiz_lambda_role<RANDOM_NUMBER> from the dropdown list.
- Click on Create function button.
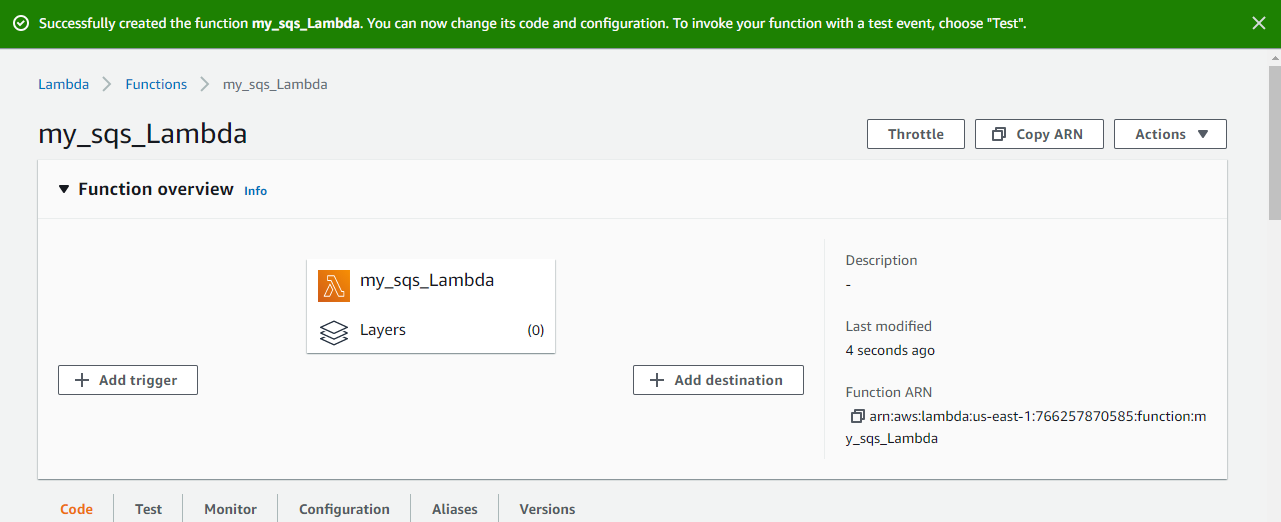
- Code section, Replace the existing code with the below
- Note: Please paste the SQS Queue URL which you copied and placed in the text editor.

- Save the function by clicking on Deploy in the top right corner.
- Now click on the Test button, Event name: Enter LambdaTest and click on the Save button.
Task 4: Send a message with Visibility Timeout
- Go to the SQS Queue browser tab.
- Click on the Send and receive messages button on the top right side.
-
Under Send message:
- Message body: Enter Test Visibility timeout
- Now click on the Send message button.
- You will be able to see a similar message.

- Now go to the Lambda function Browser tab.
- Click on the Test button of your function and check the lambda function execution output.
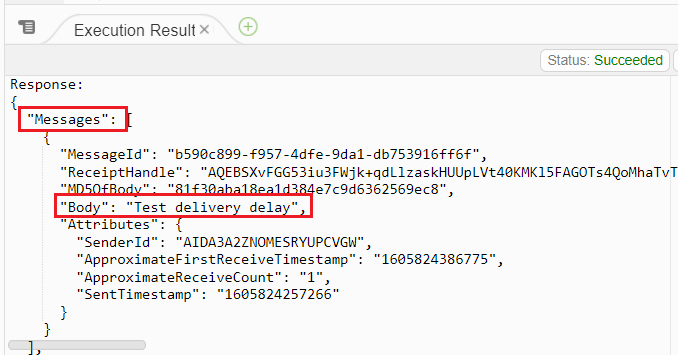
- You will be able to see the message that you have sent in the Queue, as shown below.
- Now again click on the Test button and check the lambda output.
- You won’t be able to see the message, this is because once the message is received by the lambda function (Consumer), the visibility timeout starts, which you have set to 1 Minute.
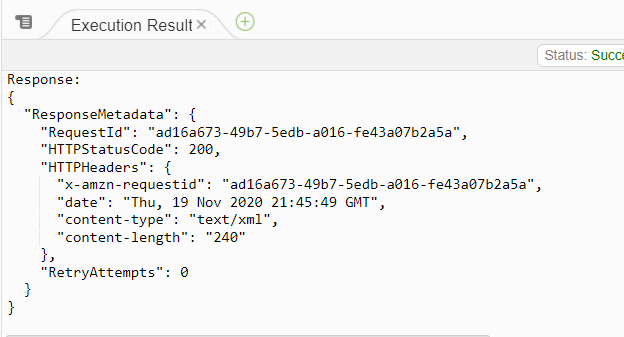
- For 1 Minute the message will not be available in the queue to be received by the consumer. This is what visibility timeout is set.
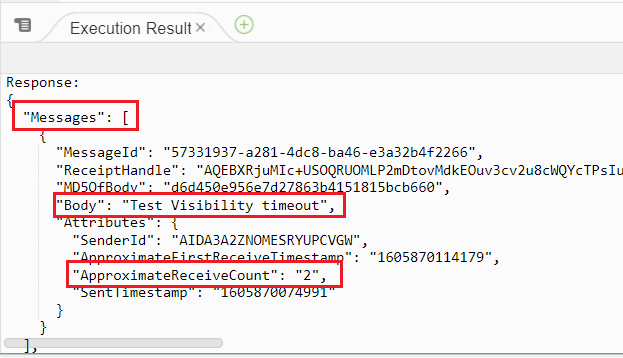
- Try to Test the lambda function after 1 Minute and you will be able to receive the message again.
Task 5: Purge the Queue
- Navigate to the SQS browser tab.
- Click on the queue name on the top left of the page.

- Now click on the Purge button.
- Enter purge in the confirm box and click on the Purge button.
- Purge will delete all the messages present in the queue.
Task 6: Send a message with Delivery Delay
- Click on the Send and receive messages button on the top right side.
-
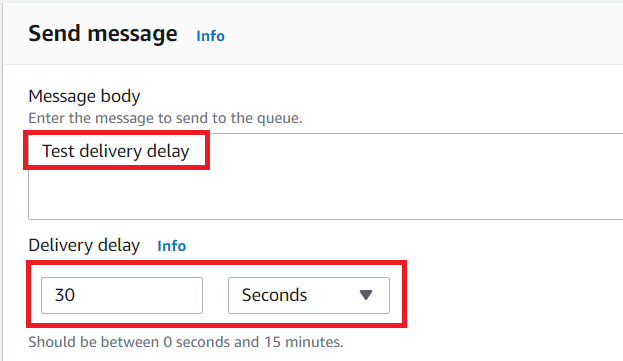
Under Send message:
- Message body: Enter Test delivery delay
- Delivery Delay: Enter 30 Seconds
- Now click on the Send message button.
- You will be able to see a similar message.

- Now go to the Lambda function Browser tab.
- Click on the Test button of your function and check the lambda function execution output.
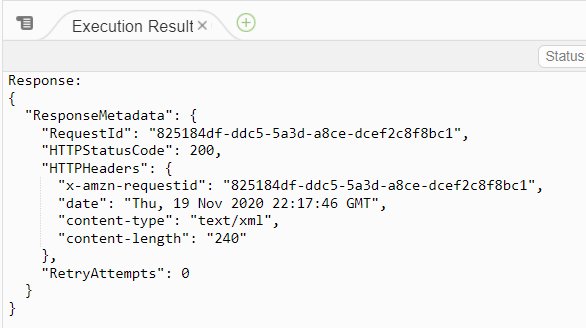
- The message is not available, because we have added a delay to deliver the message to the consumer (Lambda function)
- Now wait for 30 seconds and then again click on the Test button of your function and check the lambda function execution output.
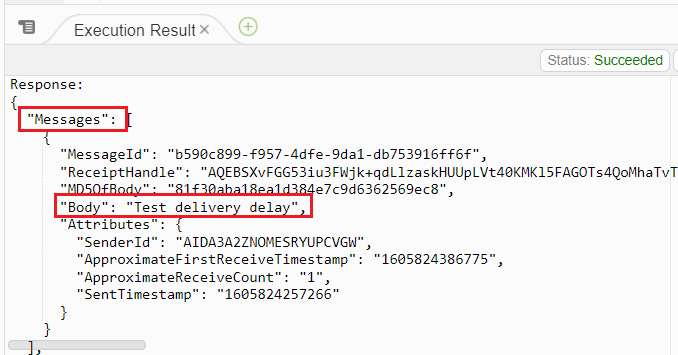
Task 7: Purge the Queue
- Navigate to the SQS browser tab.
- Click on the queue name on the top left of the page.
- Now click on the Purge button.
- Enter purge in the confirm box and click on the Purge button.
Do You Know ?
The Visibility Timeout controls the visibility of messages to consumers after they are fetched from the queue, while the Delay Queue introduces a fixed delay before delivering messages to consumers.
- Once the lab steps are completed, please click on the Validation button on the left side panel.
Task 8: Delete AWS Resources
Delete SQS Queue
- Navigate to the Services menu on the top and select Simple Queue Service under Application Integration.
- Make sure you are in the N. Virginia region.
- In the left top side click on the Menu icon and then click on Queues.
- Select your SQS Queue IP Lab Portal-sqs and click on the Delete button.
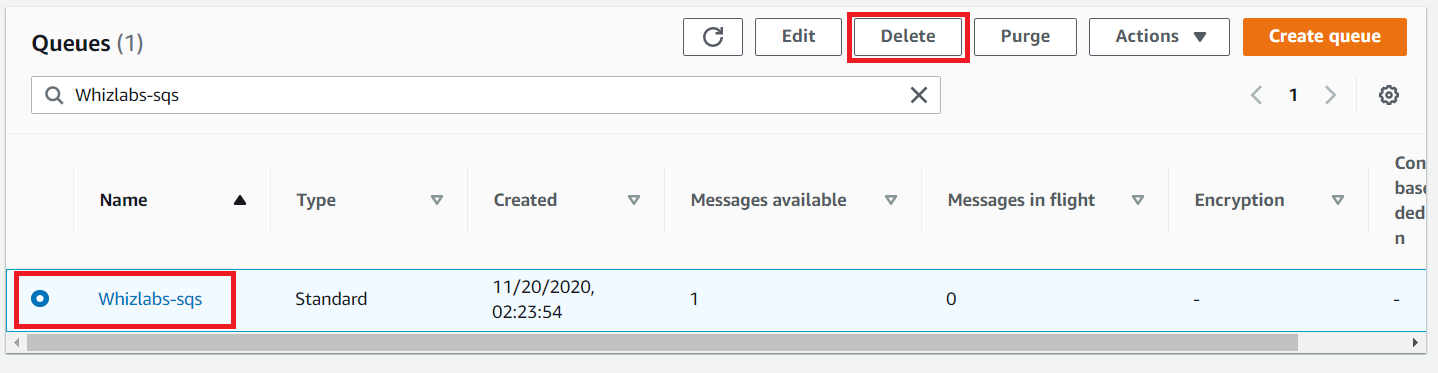
- Enter delete in the confirm box and click on the Delete button.
Delete Lambda Function
- Navigate to Lambda by clicking on the Services menu at the top, then click on Lambda in the Compute section.
- Make sure you are in the US East (N. Virginia) region.
- Select the lambda function my_sqs_Lambda and click Actions and click the Delete button.

- Click the Delete button to confirm the deletion.
Completion and Conclusion
- You have successfully created a SQS queue.
- You have successfully created a Lambda function.
- You have successfully sent a message with Visibility Timeout.
- You have successfully purged the Queue.
- You have successfully sent a message with Delivery Delay.
- You have successfully purged the Queue.
End Lab
- Sign out of the AWS Account.
- You have successfully completed the lab.
- Once you have completed the steps, click on End Lab from your whizlab’s dashboard.
What gets checked
When you press Check my work, the platform verifies each of these:- Create an AWS Lambda Function — Check whether a Lambda Function is created or not
- Create Standard SQS Queue — Check whether a Standard SQS Queue is created or not.