

Overview
Lab Details
- This lab walks you through the steps to create an API Gateway with path and query string parameters and integrate it into the Lambda function.
- You will practice using Amazon API Gateway.
- Duration of the Lab: 45 minutes.
- AWS Region: US East (N. Virginia) us-east-1.
Introduction
Amazon API Gateway
- Amazon API Gateway is a fully managed service that makes it easy for developers to create, publish, maintain, monitor, and secure APIs at any scale.
- APIs act as the front door for applications to access data, business logic, or functionality from your backend services.
- API Gateway handles all the tasks involved in accepting and processing up to hundreds of thousands of concurrent API calls, including traffic management, CORS support, authorization and access control, throttling, monitoring, and API version management.
- Using API Gateway, you can create RESTful APIs and WebSocket APIs that enable real-time two-way communication applications. API Gateway supports containerized and serverless workloads, as well as web applications.
- AWS Lambda lets you run code without provisioning or managing servers. You pay only for the compute time you consume.
- With Lambda, you can run code for virtually any type of application or backend service - all with zero administration. Just upload your code and Lambda takes care of everything required to run and scale your code with high availability. You can set up your code to automatically trigger from other AWS services or call it directly from any web or mobile app.
Architecture Diagram
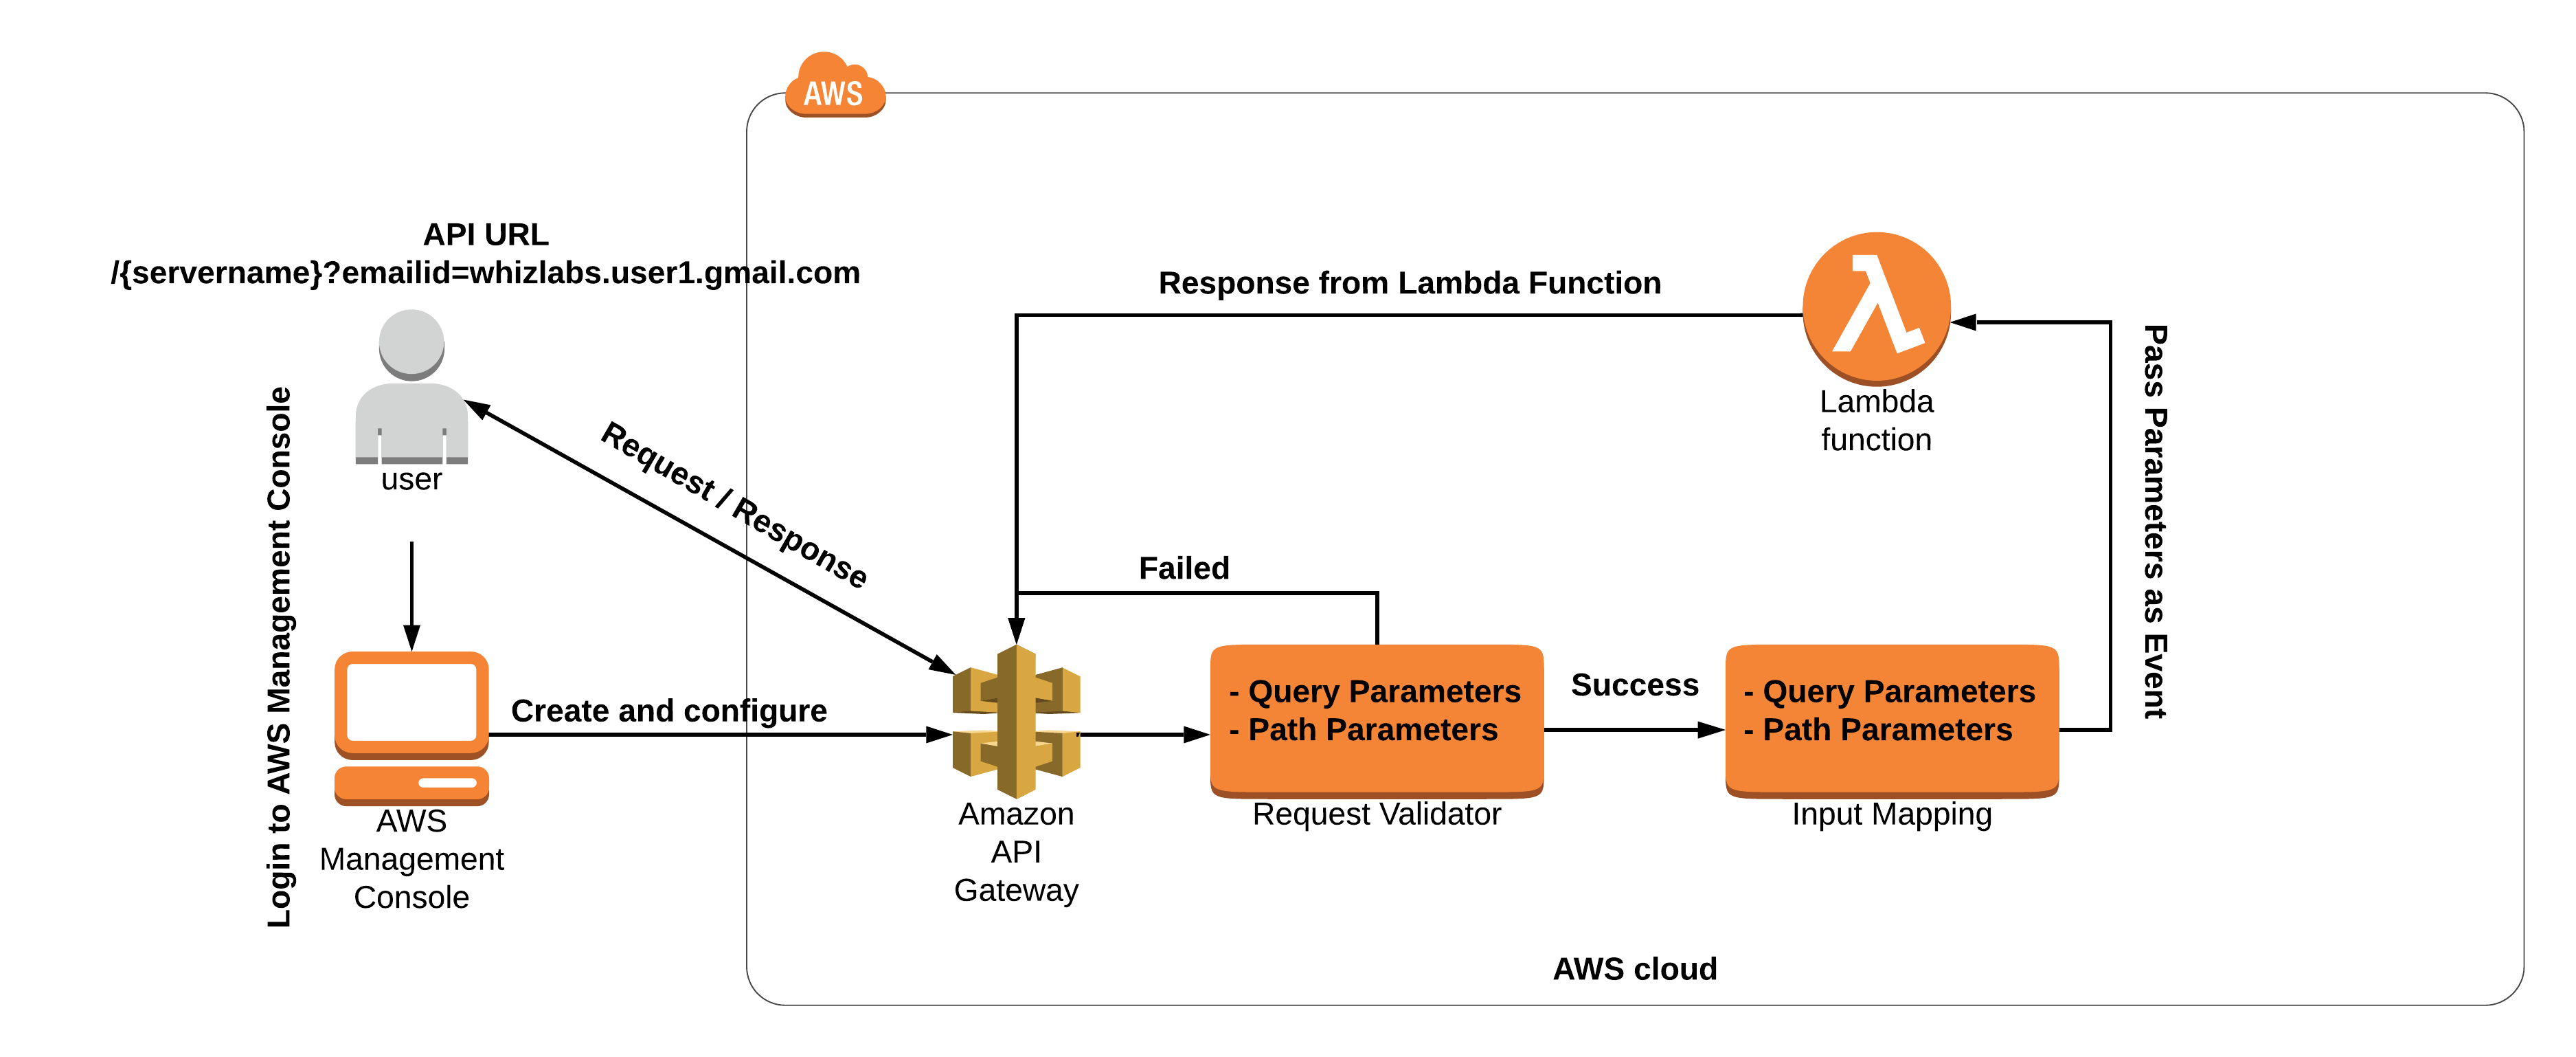
Task Details
- Sign in to the AWS Management Console.
- Create a Lambda Function.
- Create a new API Gateway.
- Create a Resource with a path parameter.
- Create a Method.
- Add a query string parameter.
- Test the API
Launching Lab Environment
- To launch the lab environment, Click on the Start Lab button.
- Please wait until the cloud environment is provisioned. It will take less than a minute to provision.
- Once the lab is started, you will be provided with an IAM username, Password, Access Key, and Secret Access Key.
Note: You can only start one lab at any given time
Lab guide
Lab Steps
Task 1: Sign in to the AWS Management Console
- Click on the Open Console button, and you will get redirected to AWS Console in a new browser tab.
-
On the AWS sign-in page,
- Leave the Account ID as default. Never edit/remove the 12-digit Account ID present in the AWS Console. otherwise, you cannot proceed with the lab.
- Now copy your User Name and Password in the Lab Console to the IAM Username and Password in the AWS Console and click on the Sign in button.
- Once Signed In to the AWS Management Console, Make the default AWS Region as US East (N. Virginia) us-east-1.
Task 2: Create a Lambda Function
In this task, we will create a Lambda function by providing the required configurations like name, runtime, roles, etc.- Navigate to the Services menu at the top, then click on Lambda under the Compute section.
-
Click on the Create function button.
- Select Author from Scratch
- Function Name: Enter WhizlabsAPI
- Runtime: Select Python 3.9
- Under Change default execution role
- Choose Use an existing role.
- Role Name: Enter Whiz_lambda_role-<random_number>
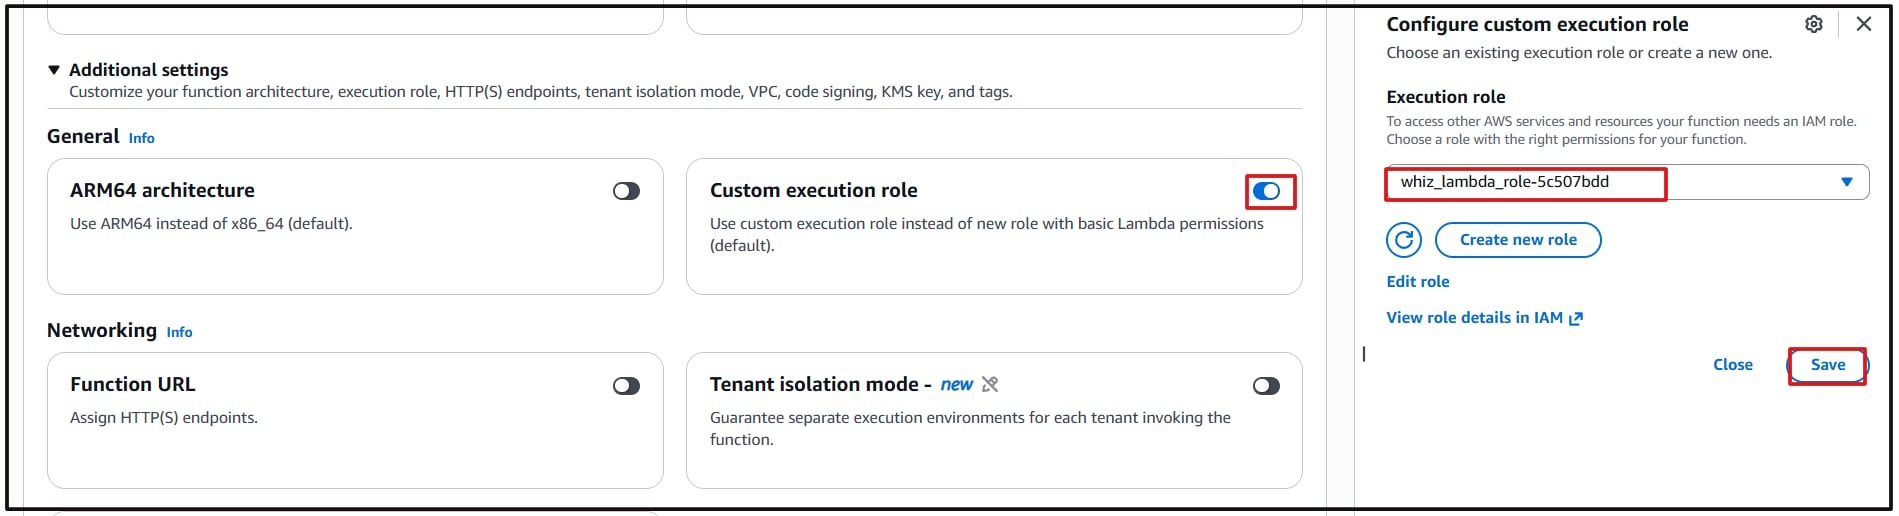
- Leave other options as default.
- Click on the Create function button.
- Once the Lambda Function is created successfully, it will look like the screenshot below:
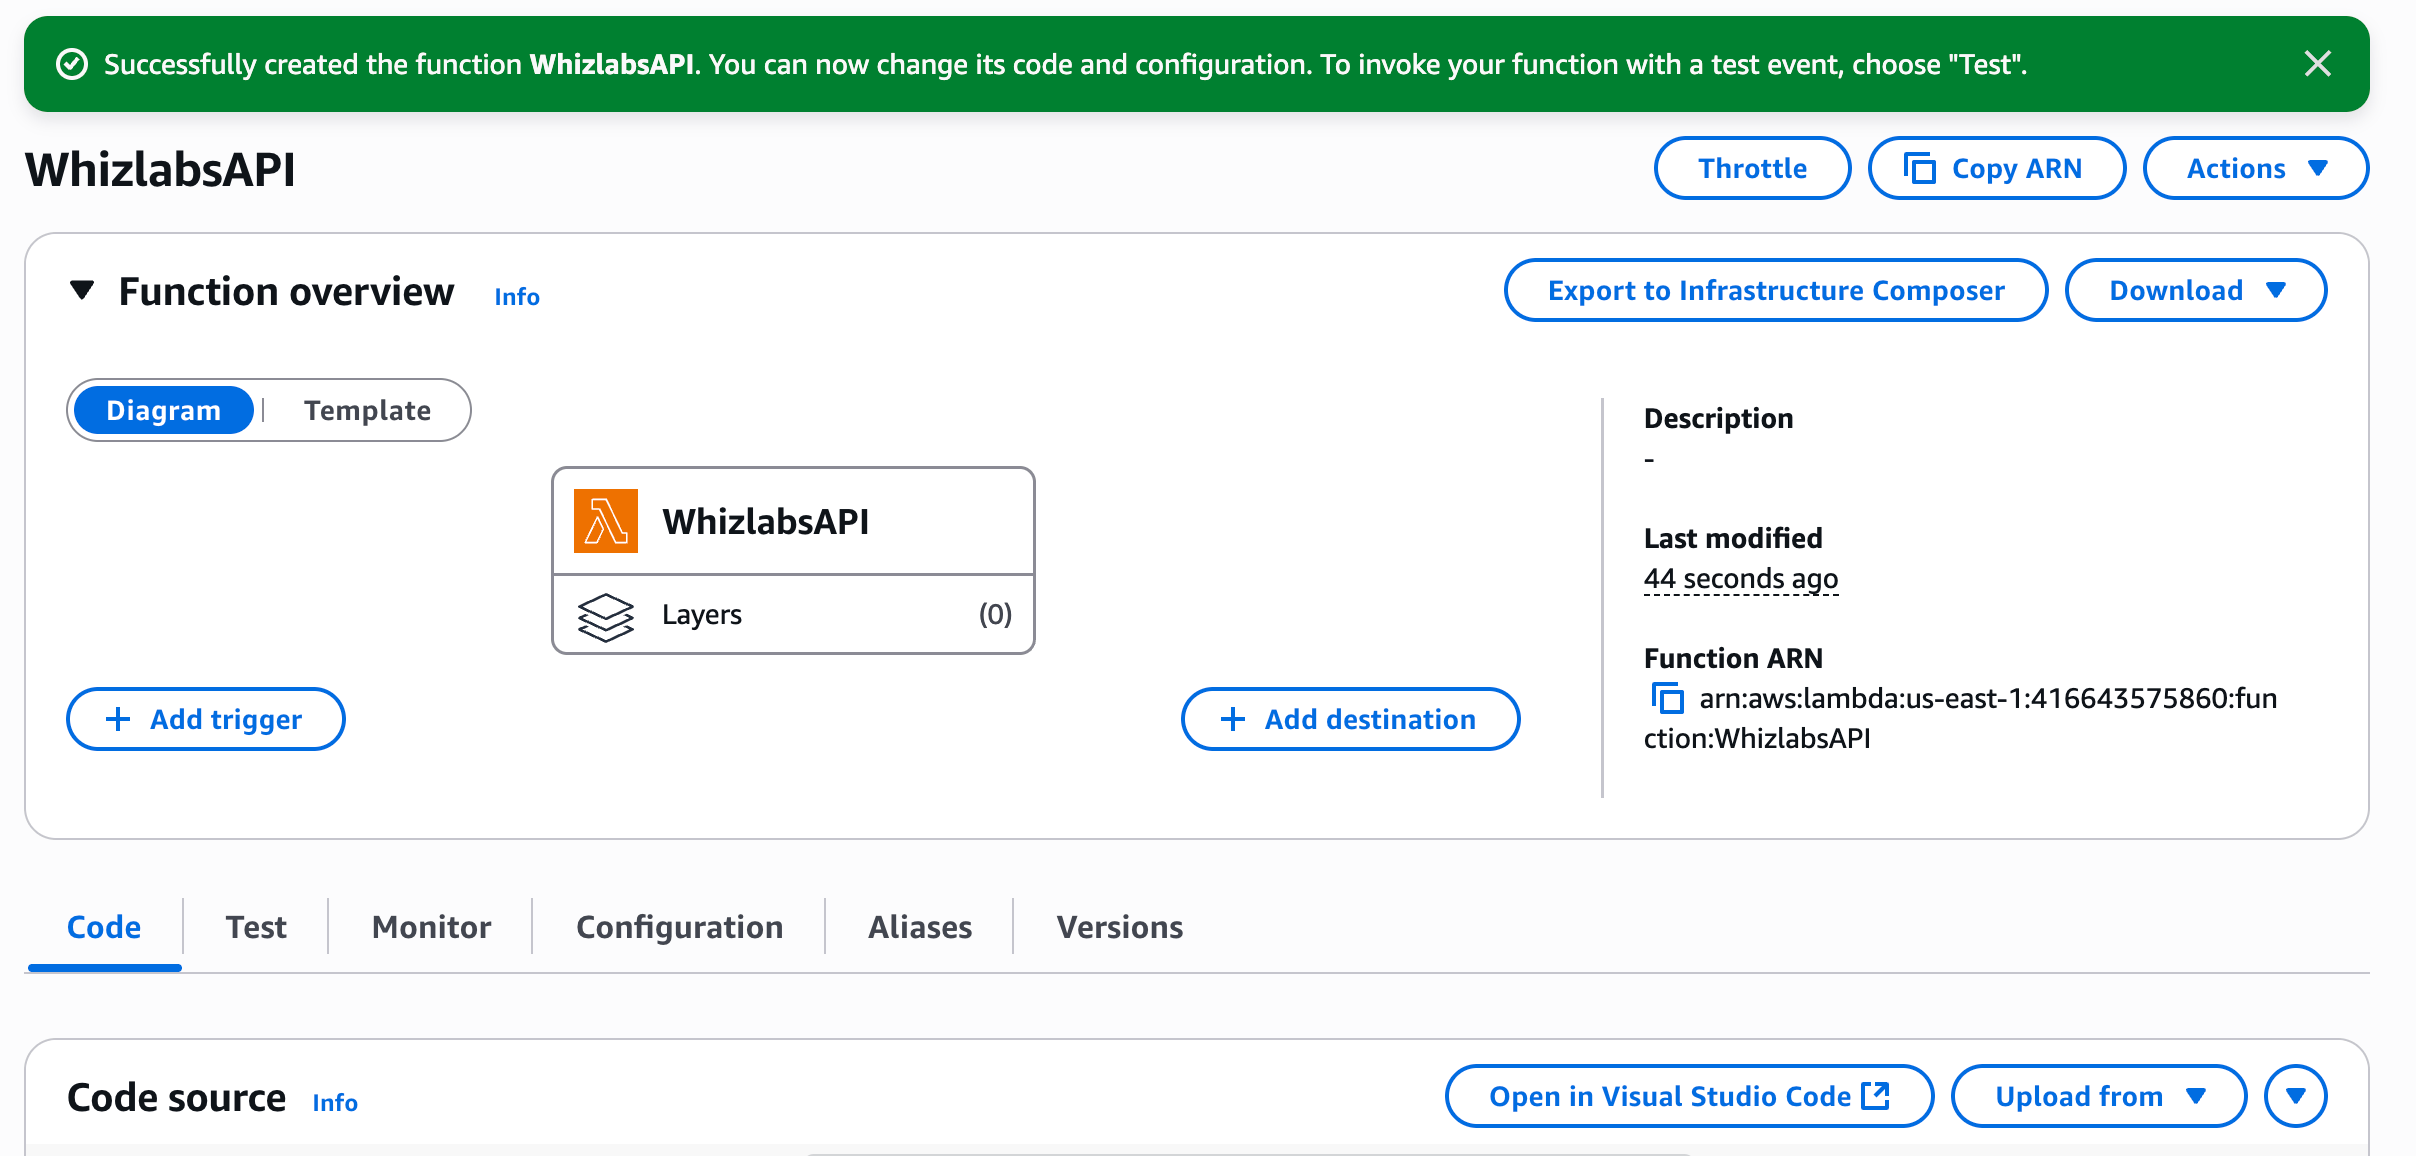
-
Under Function code:
- Replace the existing code with the below Python code.
- Click the Deploy button.
Task 3: Create an API Gateway
- Navigate to the Services menu at the top, then click on API Gateway in the Network and Content Delivery section.
- Click on the Build button in REST API.
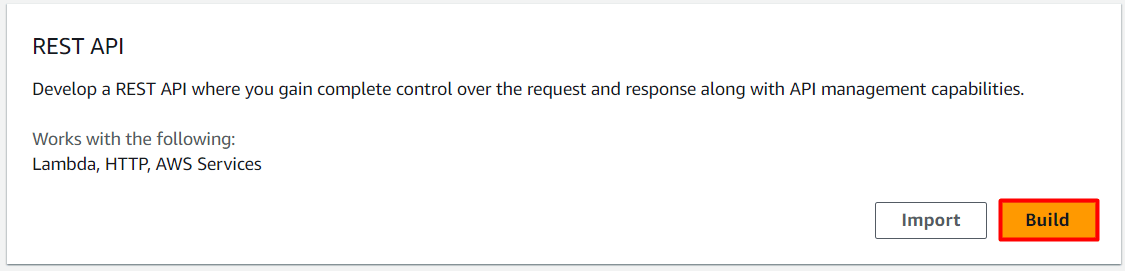
- Select Protocol as REST
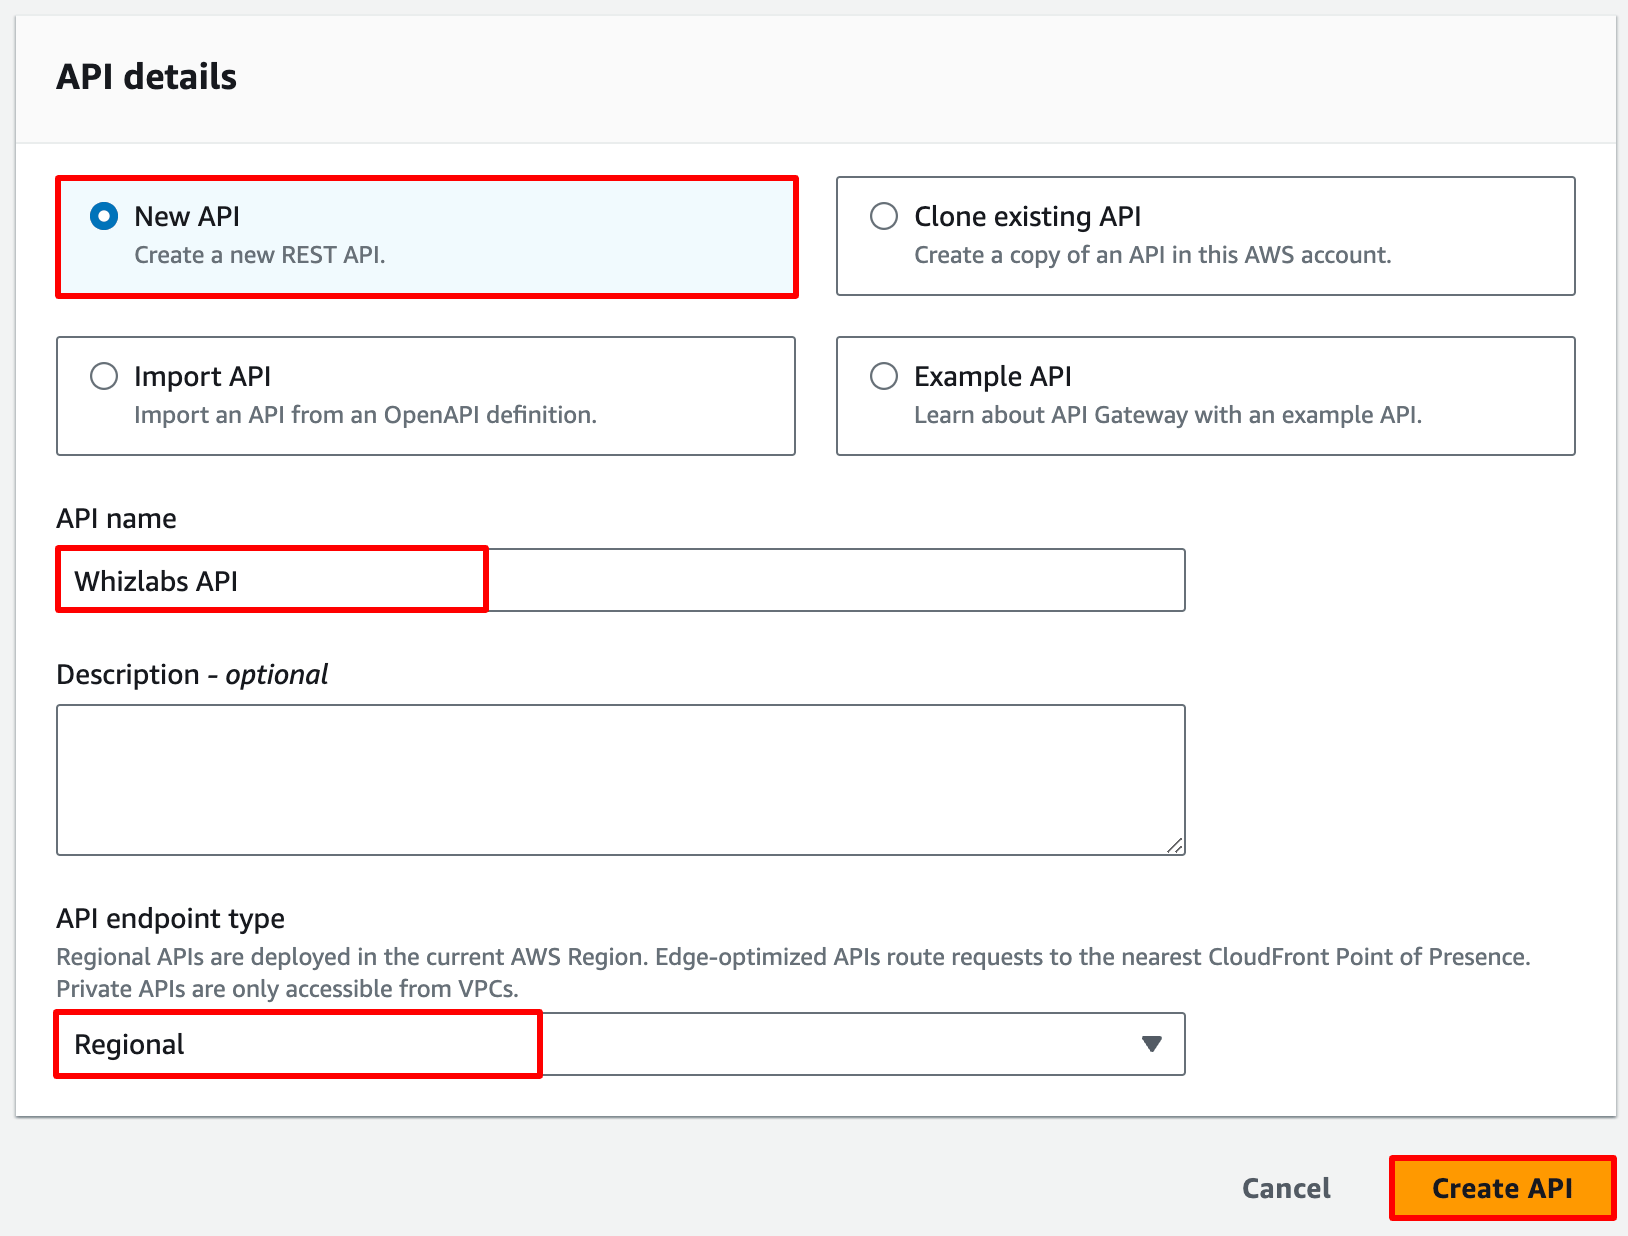
- Create a new API: Choose a New API.
-
Under settings:
- API name : Enter WhizlabAPI
- Leave other options as default**.**
- Click on the Create API button.
Task 4: Creating a Resource with a path parameter
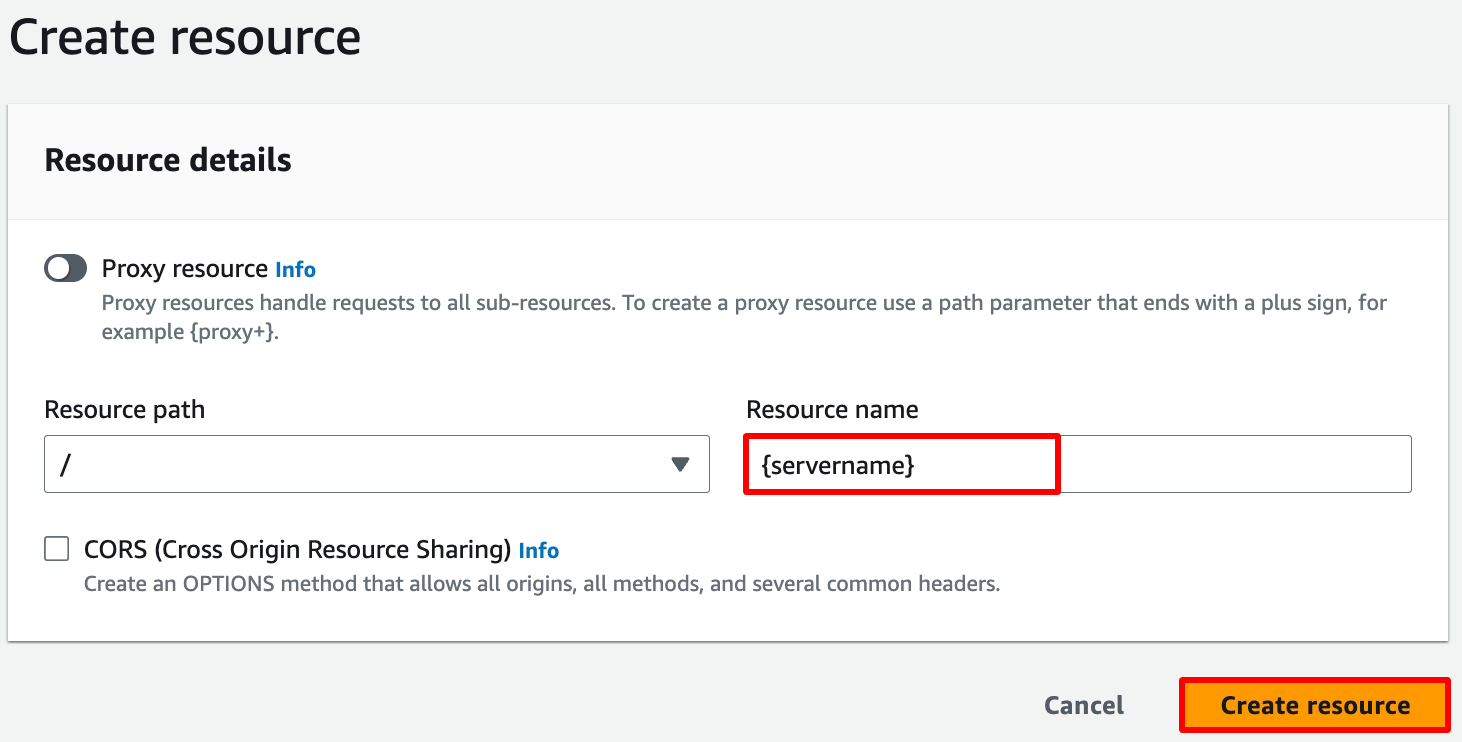
- Once the API is created, click on Create Resource
- Resource Name: Enter {servername}
- Note: The resource name should be placed inside flower brackets { }
- Leave everything as default.
- Now click on the Create Resource button.
Task 5: Creating a Method
- Once you create a resource, click on Create Method button.
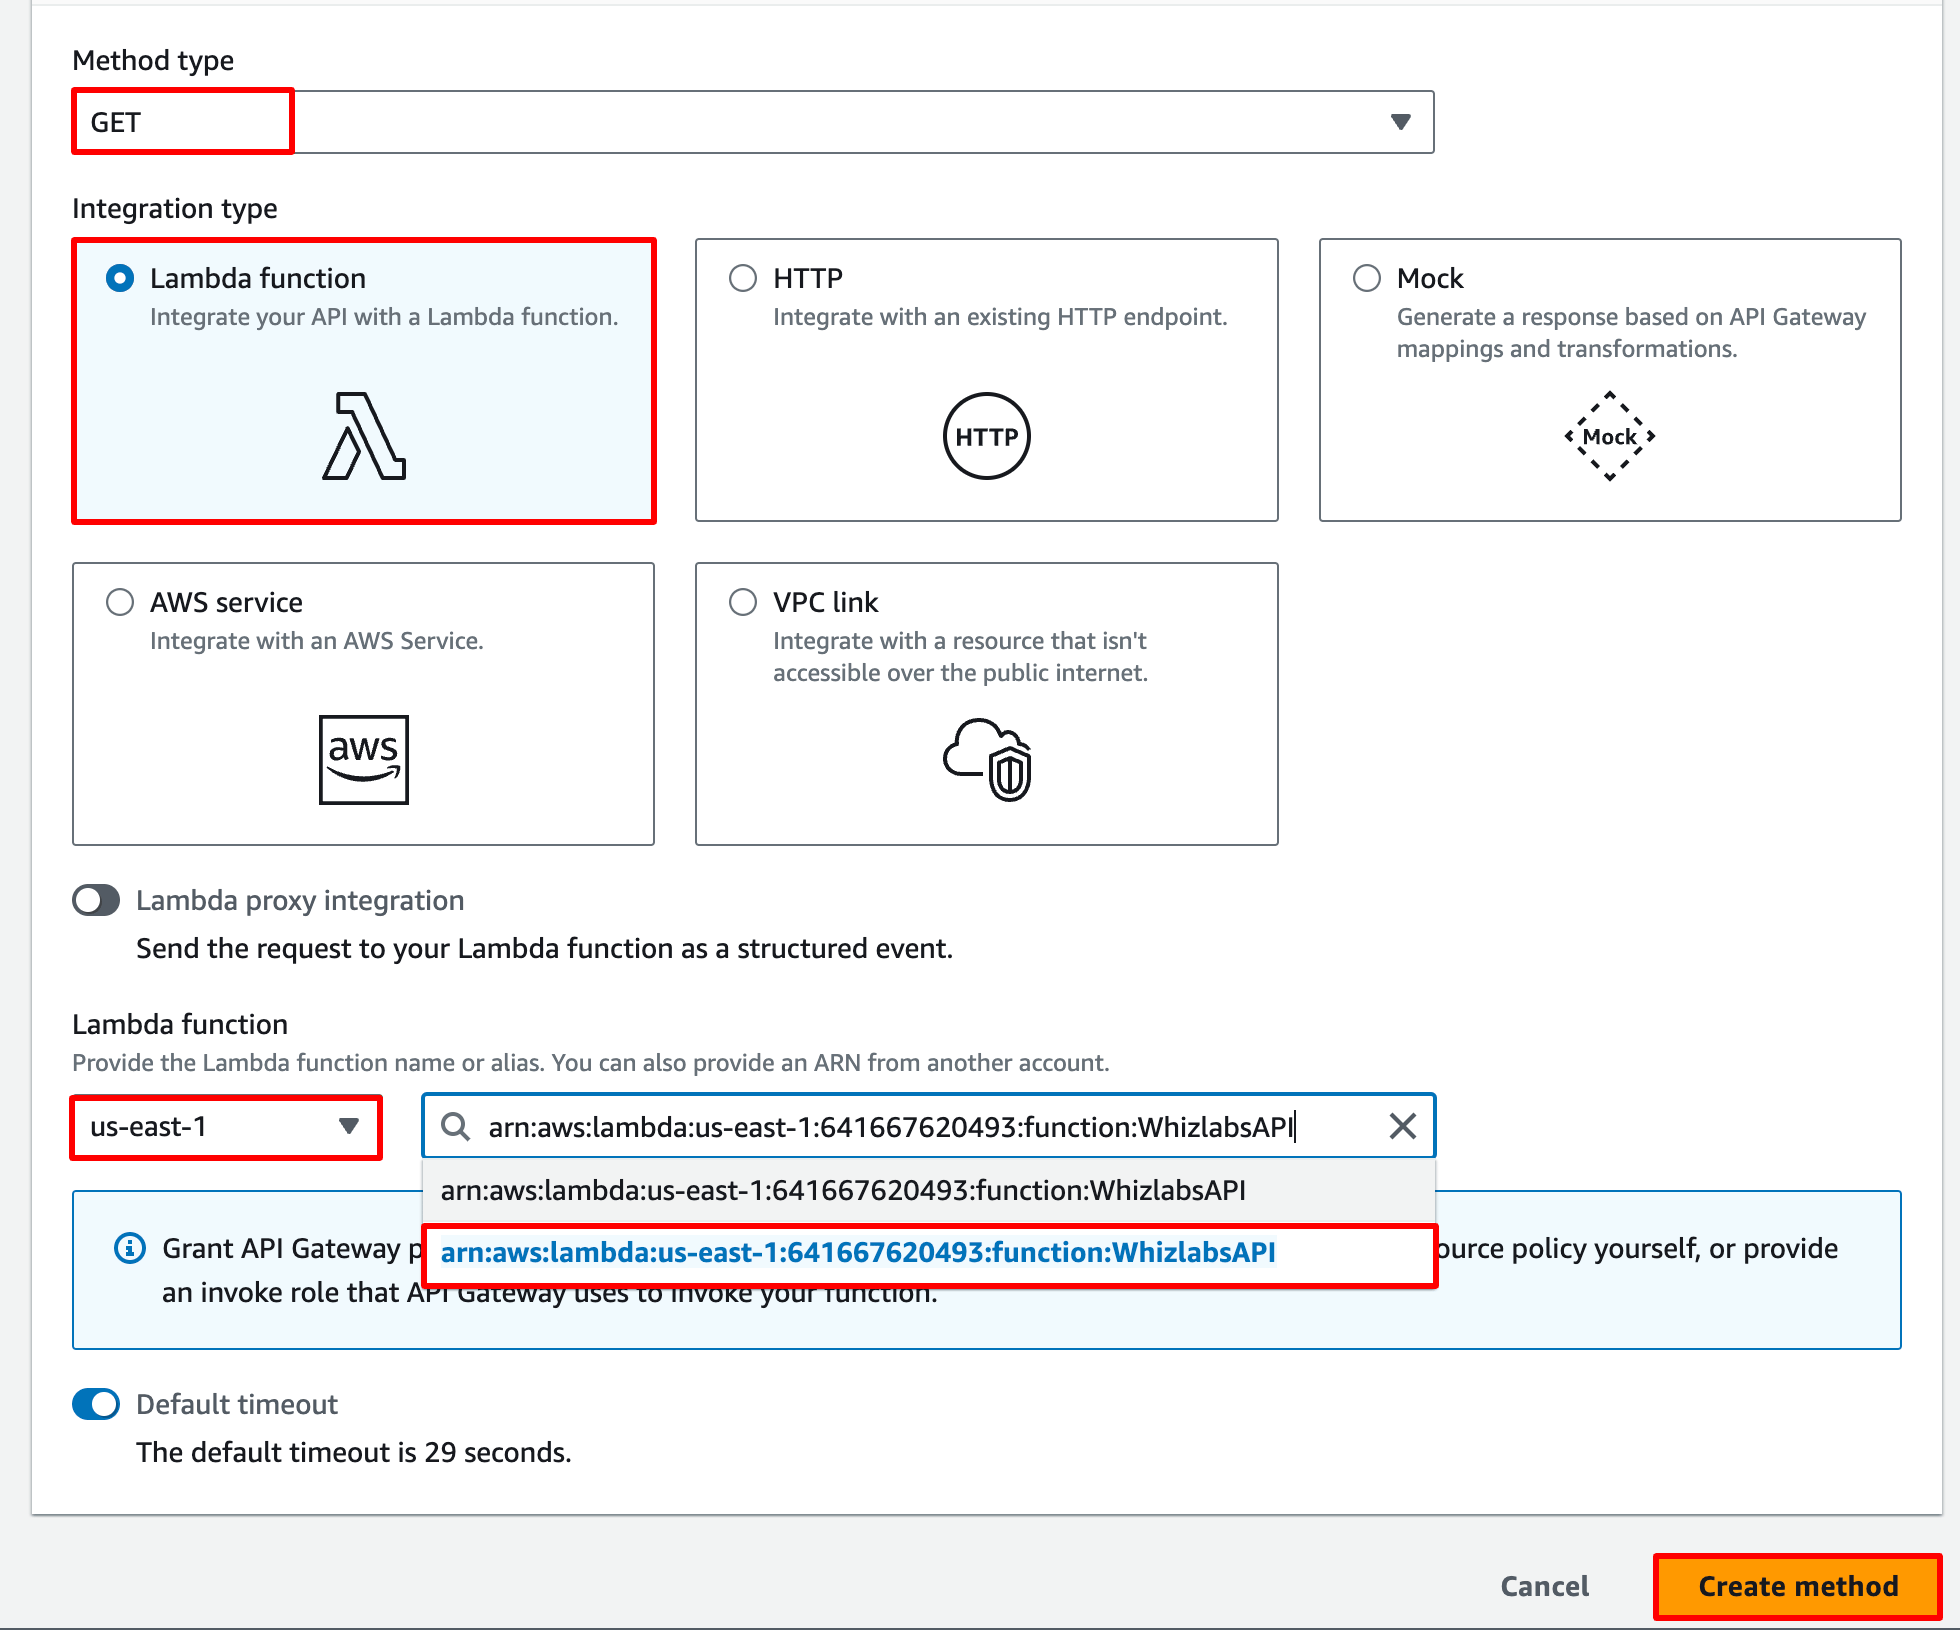
- From the drop-down, select GET.
- Setup:
- Integration Type: Select Lambda Function
- Lambda Region: select us-east-1
- Lambda function: Enter WhizlabsAPI and select the function name you created from the list.
- Leave everything else as default.
-
Click on the Create Method button.
- Note: If any pop-ups appear, click on the OK button.
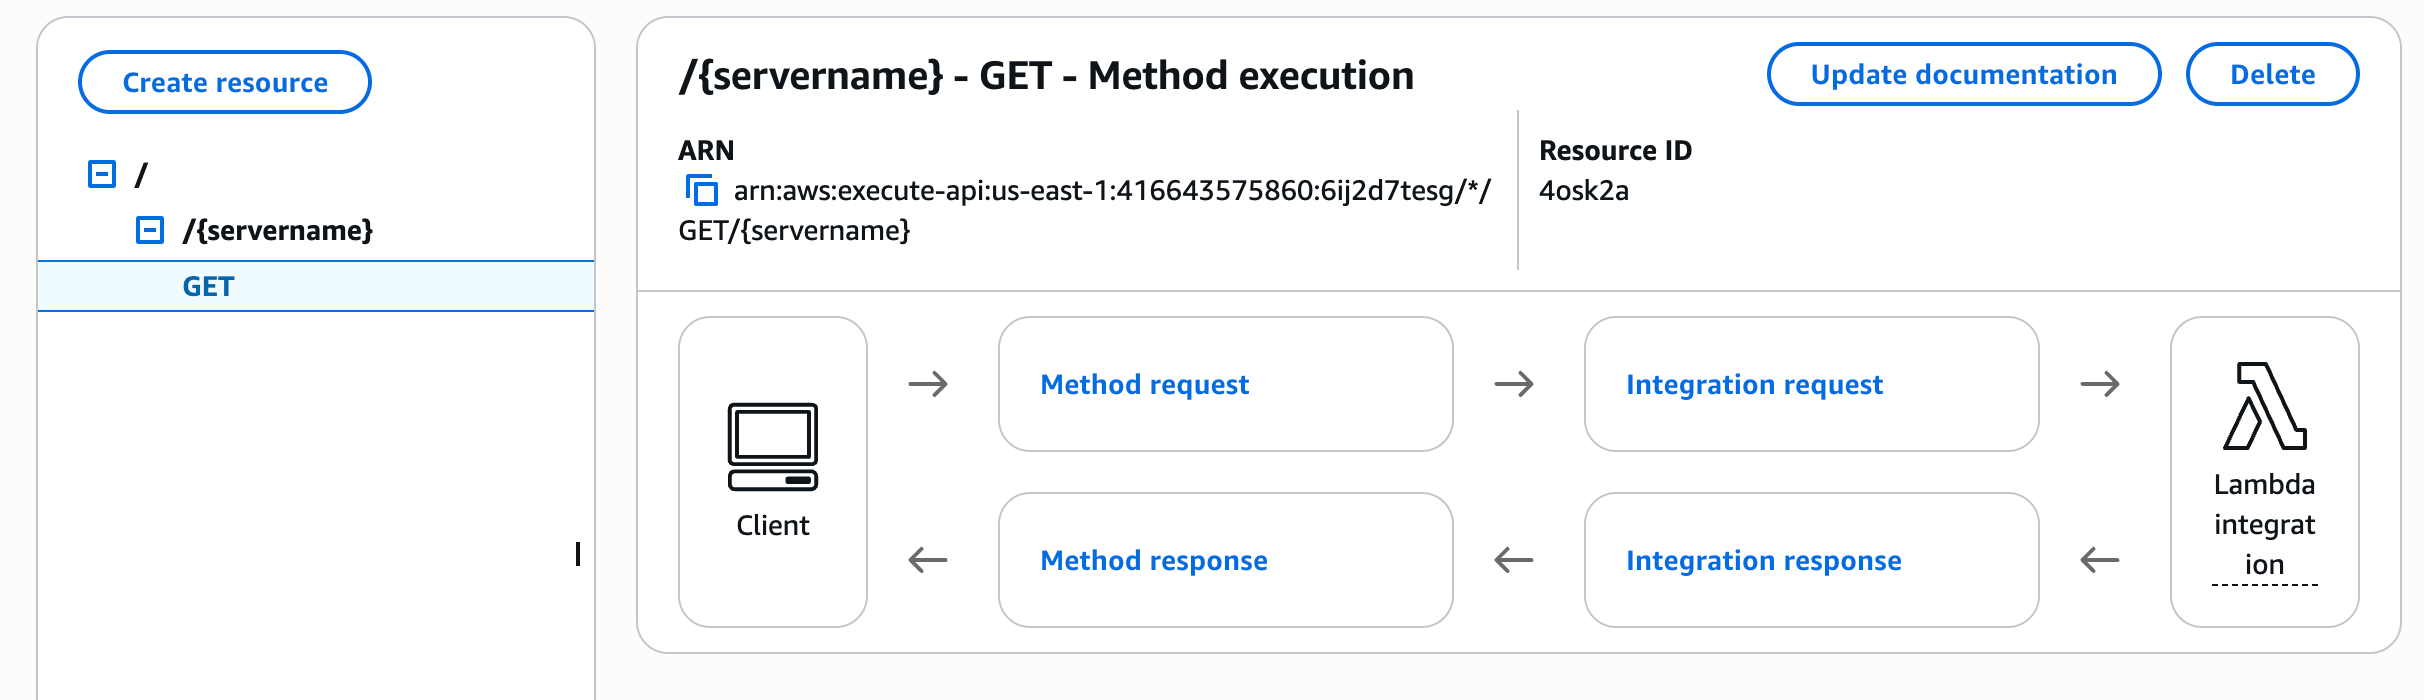
- Once the method has been created, your screen will look similar to the screenshot below:
Task 6: Add a query string parameter
- Click on the Method Request link in the GET method page.
-
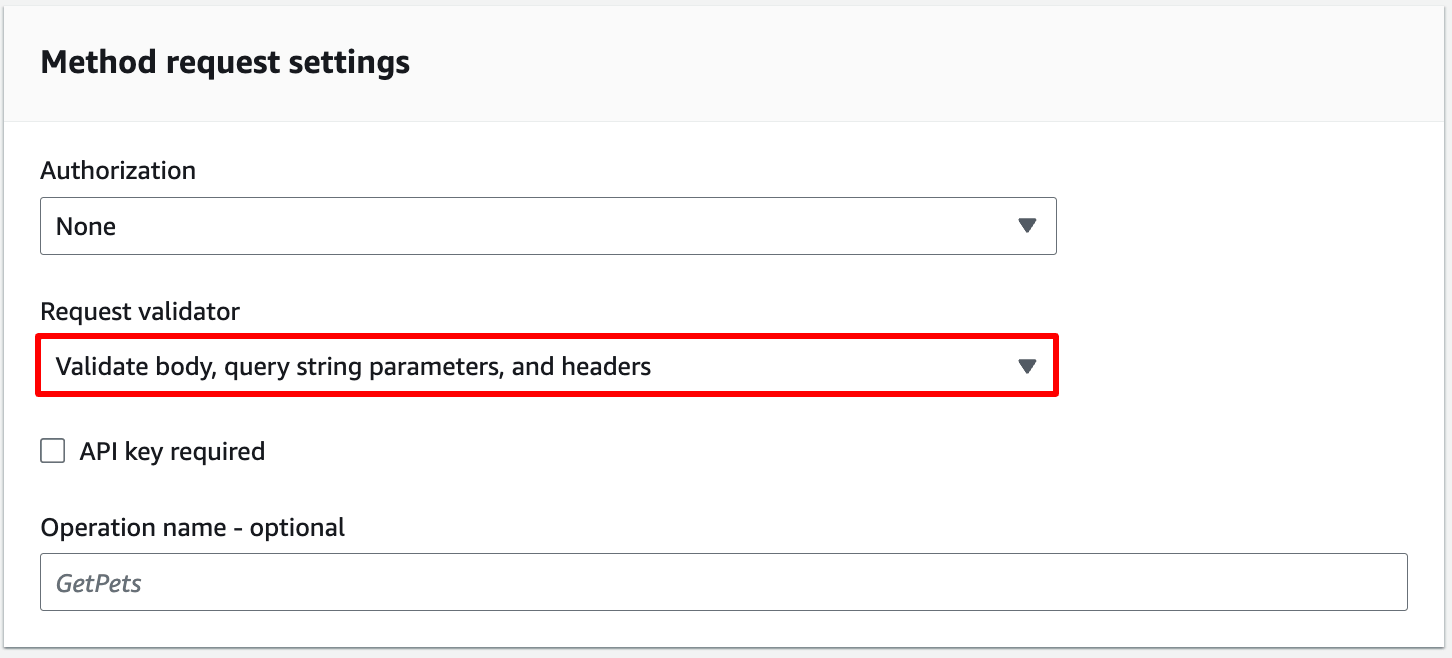
Under Method request Settings :
- Click on the Edit button.
- Request Validator: Select Validate body, query string parameters, and headers
-
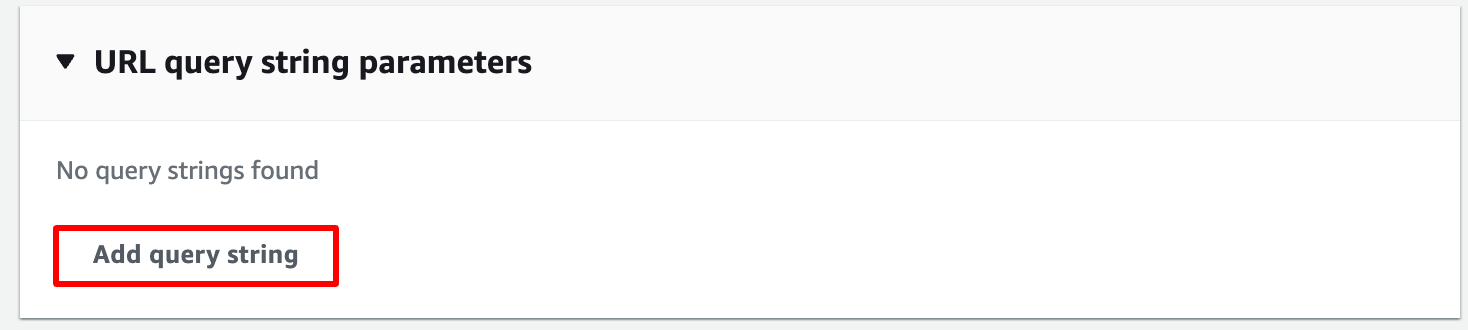
Under URL Query String Parameters:
- Click on the Add query string button.
- Name: Enter emailid
- Check the checkbox below Required.
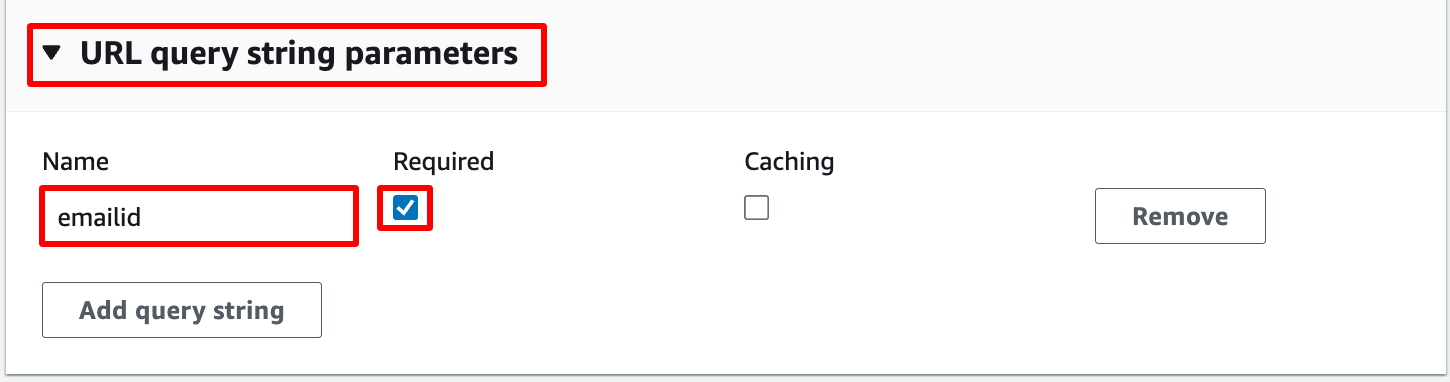
- Click on Save.
- Click on the Integration Request link in the GET method page.
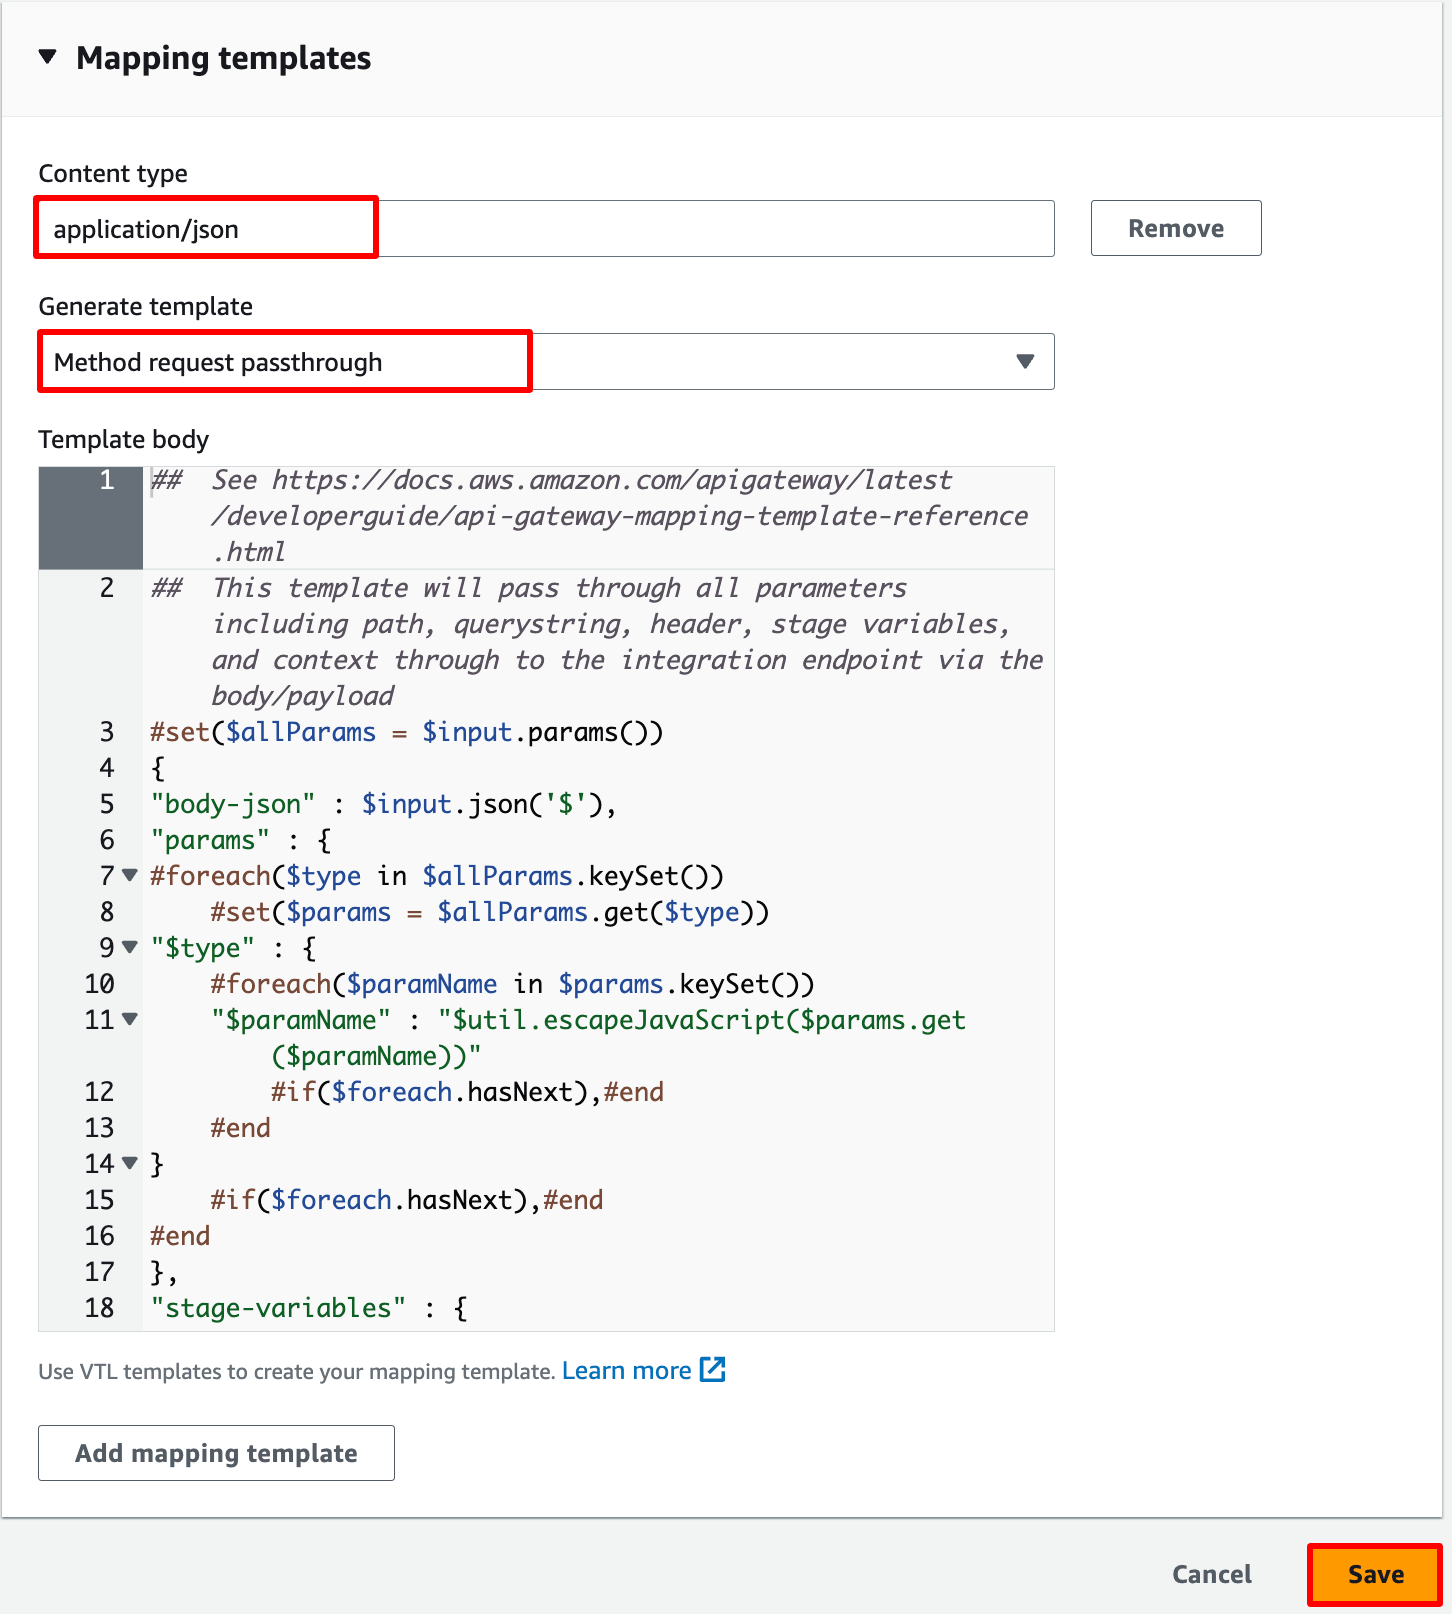
- Click on Edit and Scroll down to the bottom and select Mapping Templates.
- Request Body passthrough: Select When there are no templates defined(recommended)
- Click on Add mapping template.
- Content type: Enter application/json
- Again, scroll down to the page to the bottom.
- Generate template: Select Method Request passthrough from the list.
- Click on the Save button.
Task 7: Deploy the API Gateway
- Once the resource and the method have been created successfully, you can deploy the API.
- Now again, select the GET from the hierarchy.
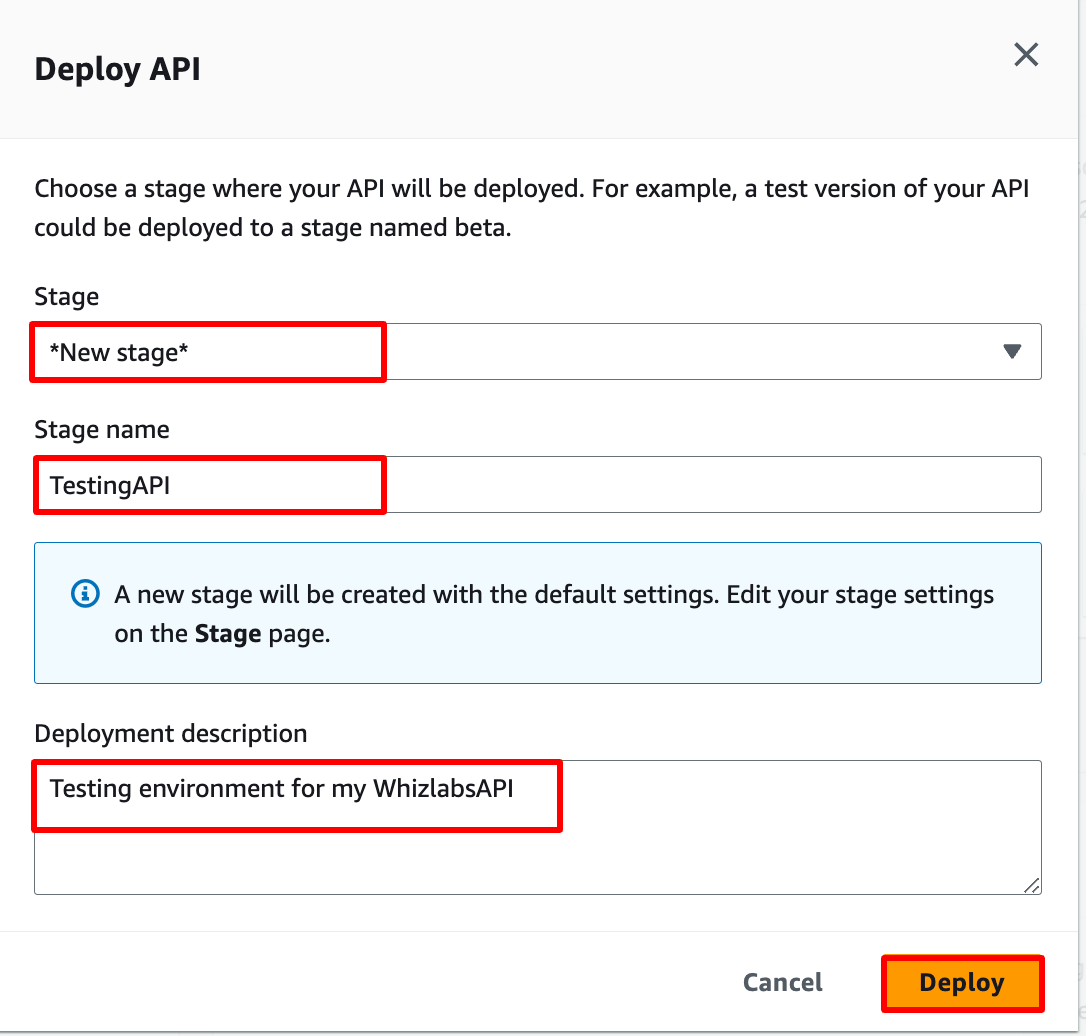
- Click on the Deploy API.
- Select the Deployment Stage in the drop-down as New Stage.
- Enter Stage Name: TestingAPI and Stage description as Testing environment for my WhizlabsAPI.
- Click on the Deploy button.
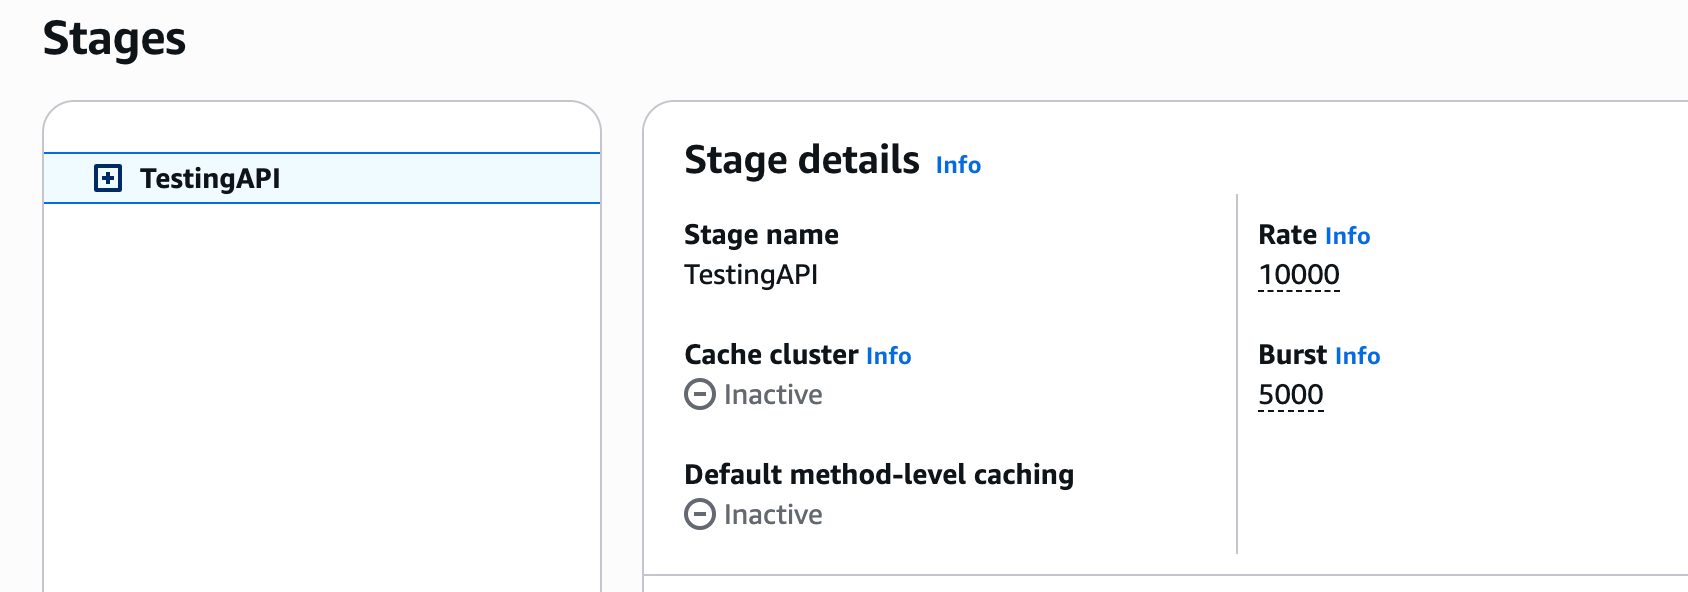
- Once the API has been deployed, navigate to Stages and click on the stage name. You will be able to see the following:
- Now click on the GET method.
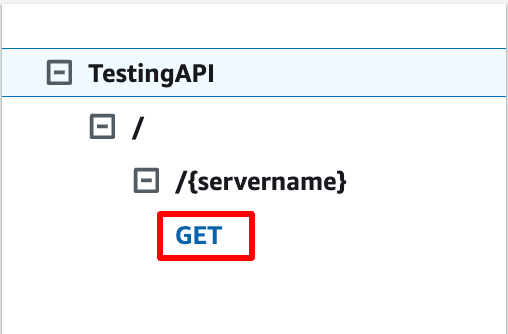
- Copy and Paste the Invoke URL in a new tab of your browser.

- Now replace {servername} with Production and then add ?emailid=whizlabs.user1@gmail.com

- You will receive the GET request’s response from the API. Here’s an example:
Do you know ?
Path parameters can expose sensitive information if not handled properly. For example, if you include confidential information directly in the URL path, it might end up in server logs or browser history. It’s important to handle such data carefully and consider alternatives like request bodies or headers for sensitive information.
- Once the lab steps are completed, please click the Validation button on the right side panel.
- This will validate the resources in the AWS account and show you whether you have completed this lab successfully or not.
Completion and Conclusion
- You have successfully created a Lambda function.
- You have successfully created the API.
- You have successfully created the API Resource and Method.
- You have successfully created path and query string parameters.
- You have successfully tested the API.
End Lab
- Sign out of AWS Account.
- You have successfully completed the lab.
- Once you have completed the steps, click on End Lab from the IP Lab Portal dashboard.
What gets checked
When you press Check my work, the platform verifies each of these:- Create an AWS Lambda Function — Check whether a Lambda Function is created or not
- Create a API Gateway — Check whether a REST/HTTP?WEBSOCKET API gateway is created or not