

Overview
Lab Details
- This tutorial guides you on how to enable cross-region replication and versioning in Amazon S3. The steps involve working with an S3 Bucket to accomplish this.
- Duration: 45 minutes
- AWS Region: US East (N. Virginia) us-east-1 , Asia Pacific (Mumbai) ap-south-1
Architecture Diagram
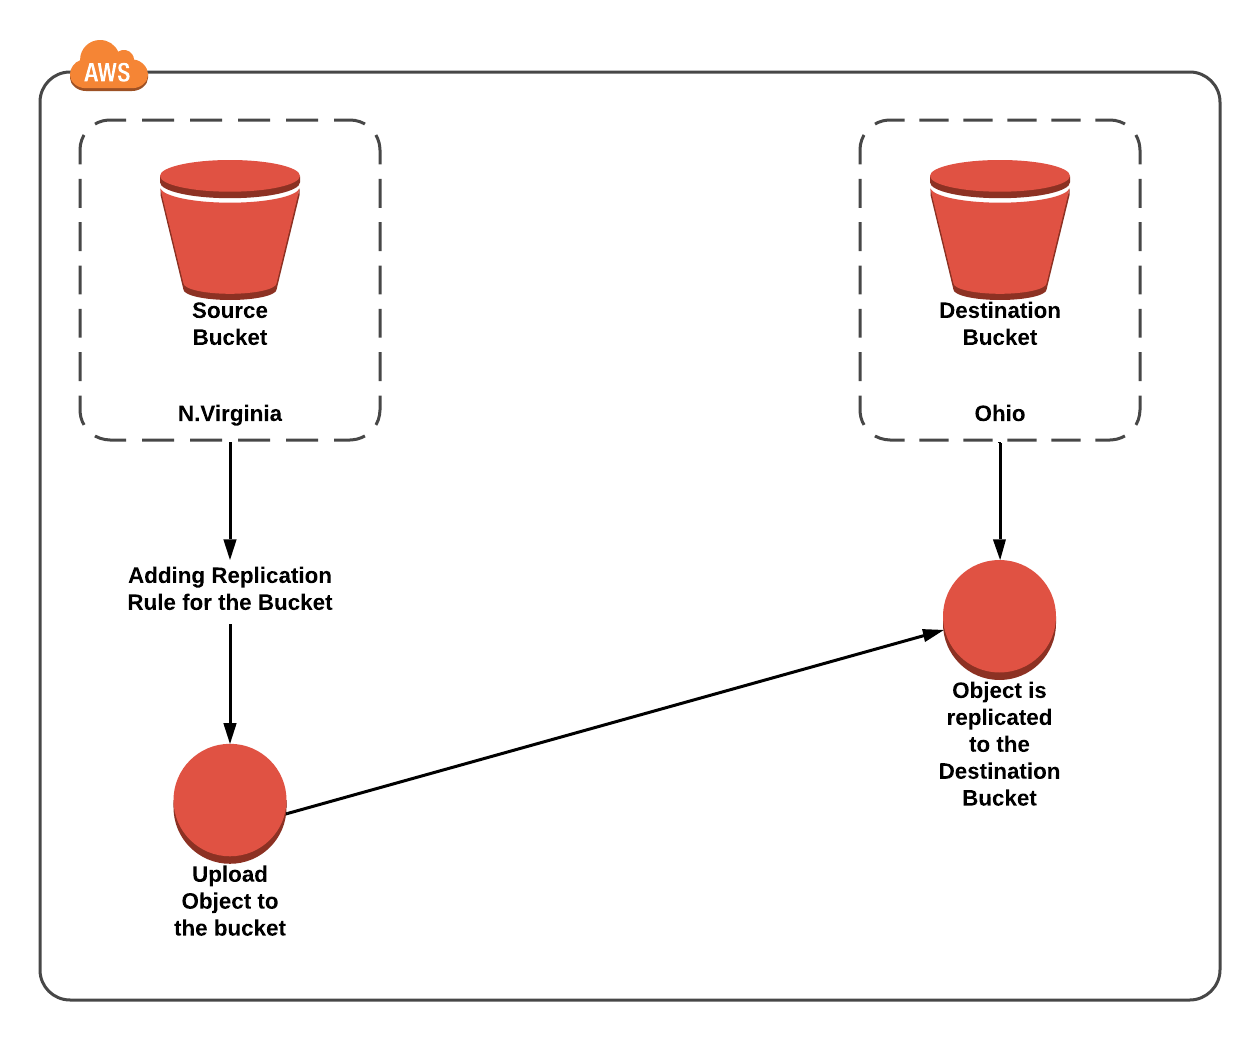
Task Details
- Sign in to AWS Management Console.
- Create an S3 Source Bucket.
- Create an S3 Target Bucket.
- Enable Cross Region Replication and add rule for source bucket.
Launching Lab Environment
- To launch the lab environment, Click on the Start Lab button.
- Please wait until the cloud environment is provisioned. It will take less than a minute to provision.
- Once the Lab is started, you will be provided with IAM user name, Password, Access Key, and Secret Access Key.
Note : You can only start one lab at any given time
Lab guide
Lab Steps
Task 1: Sign in to AWS Management Console
- Click on the Open Console button, and you will get redirected to AWS Console in a new browser tab.
-
On the AWS sign-in page,
- Leave the Account ID as default. Never edit/remove the 12 digit Account ID present in the AWS Console. otherwise, you cannot proceed with the lab.
- Now copy your User Name and Password in the Lab Console to the IAM Username and Password in AWS Console and click on the Sign in button.
- Once Signed In to the AWS Management Console, Make the default AWS Region as US East (N. Virginia) us-east-1.
Task 2: Creating an S3 Source Bucket
In this task, we are going to create an S3 source bucket with the required configurations like name, region, access, and versioning.- Make sure you are in the US East (N.Virginia) us-east-1 Region.
- Navigate to the Services menu at the top. Click on S3 in the Storage section.
- In the S3 dashboard, click on the Create bucket button and fill in the bucket details.
-
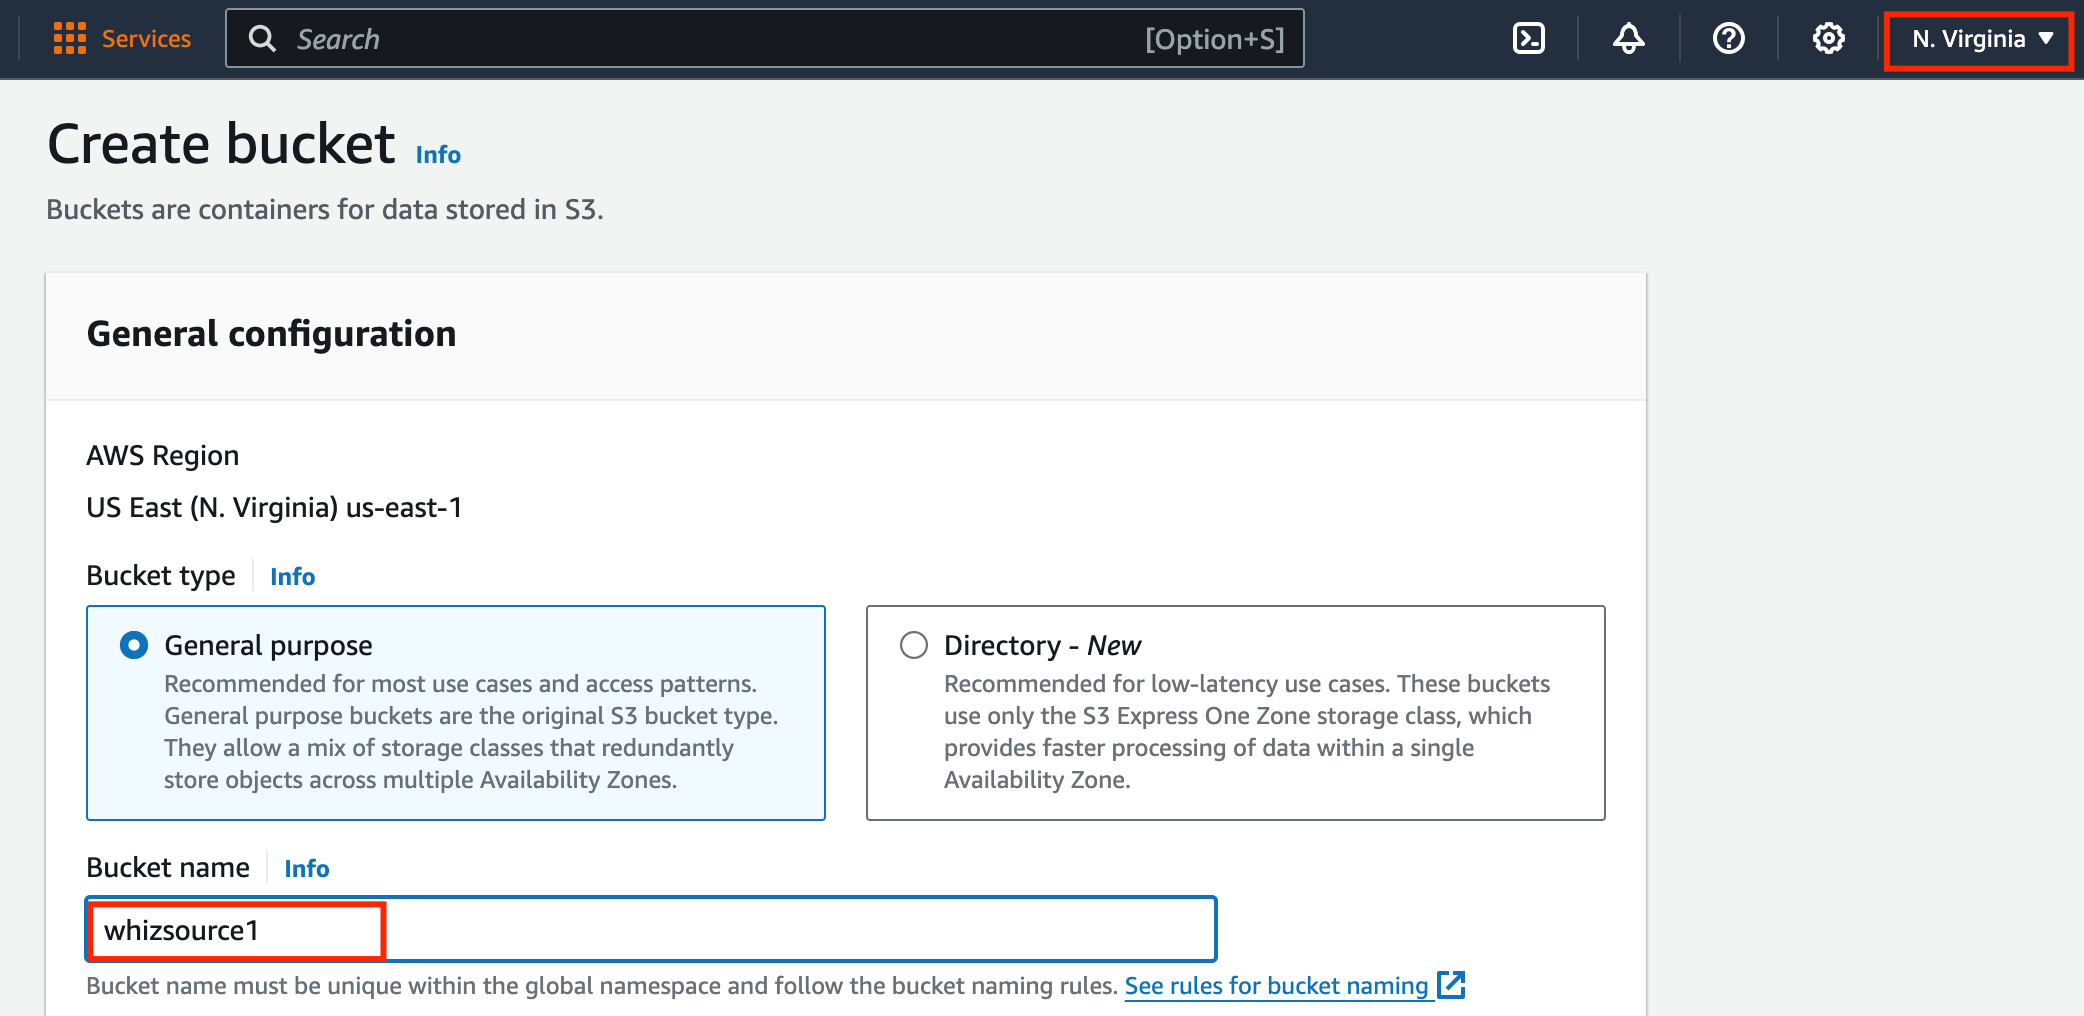
In the General Configuration, Bucket name: Enter whizsource1 (Source bucket)
- Note: S3 Bucket names are globally unique, choose a name that is available. Maybe you can enter your name and create one.
- Region: Select US East (N. Virginia) us-east-1
- Object ownership: Select ACLs disabled (recommended) option
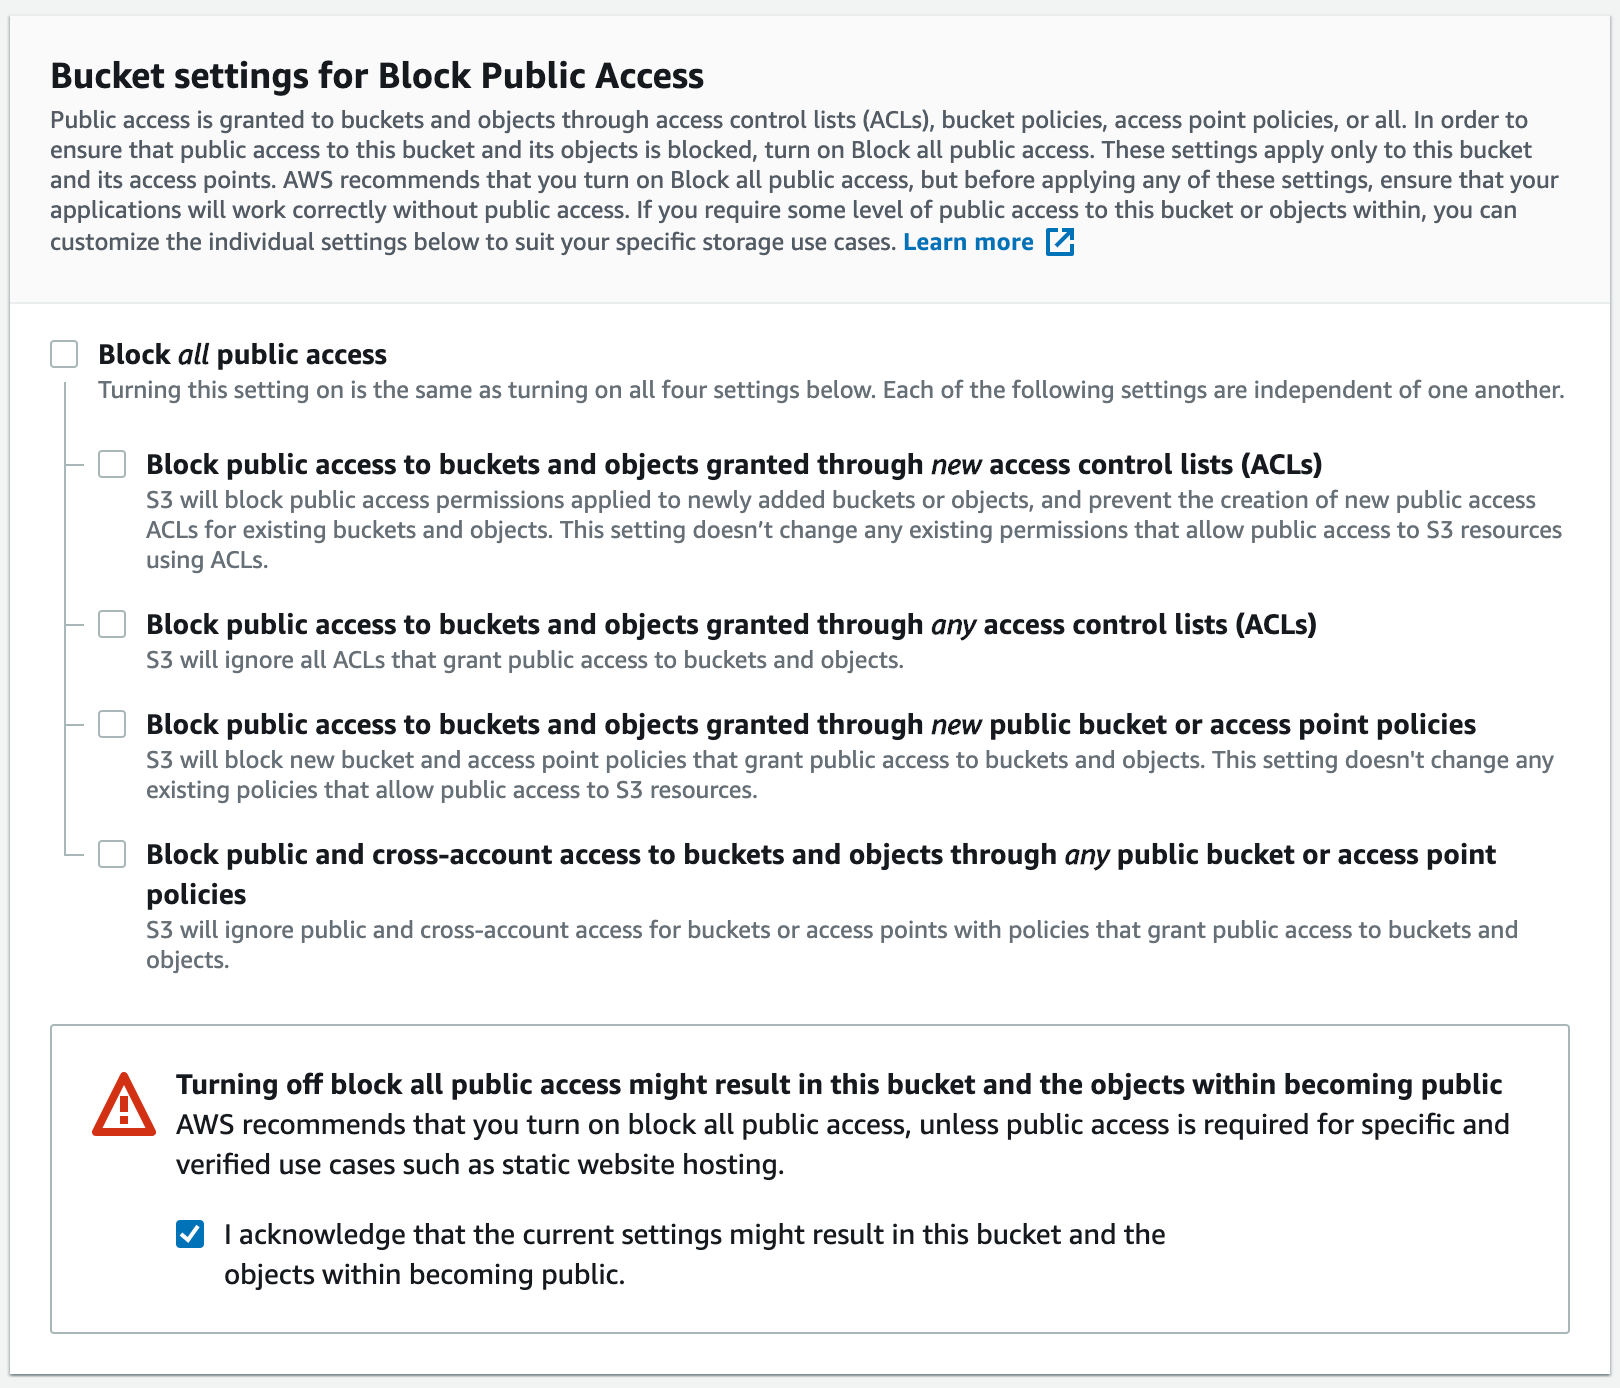
- In the option of Bucket settings for Block Public Access, Uncheck the option of Block all public access. And, Acknowledge the same by checking the below option
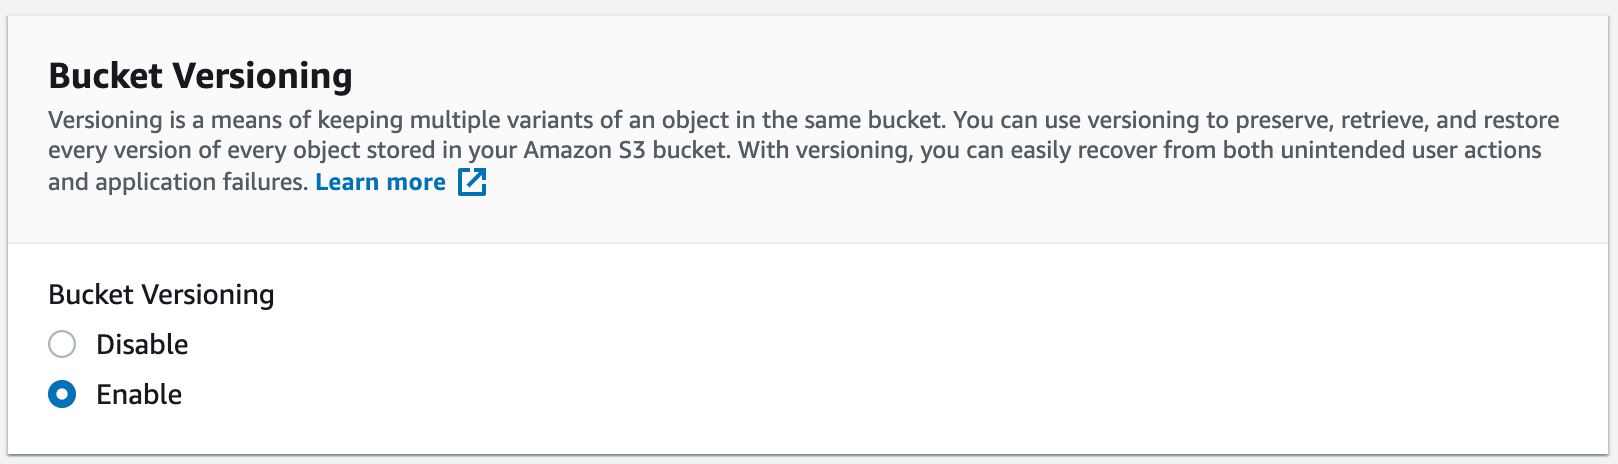
- In the Option of Bucket Versioning, Check the option of Enable.
- Keep everything default and click on Create bucket button.
- Source bucket is created now, Let’s create the target bucket.
Task 3: Creating an S3 Target Bucket
In this task, we are going to create an S3 target bucket with the required configurations like name, region, access, and versioning- In the S3 dashboard, click on the Create bucket button and fill in the bucket details.
-
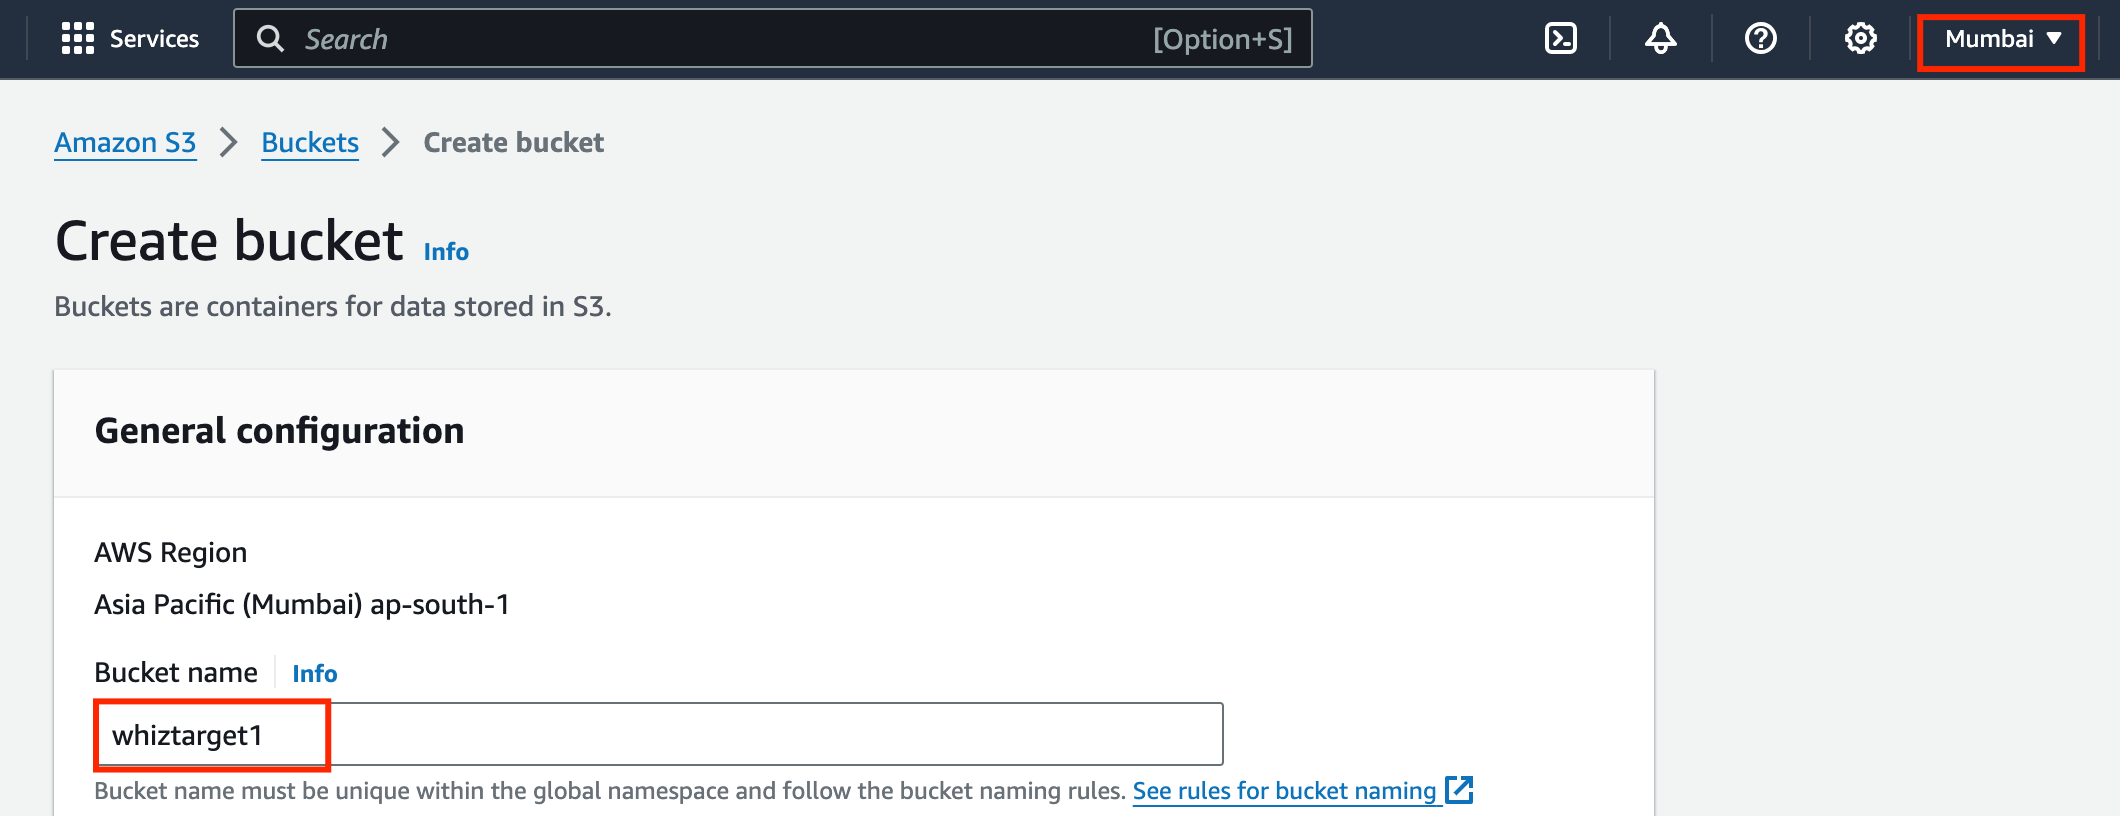
In the General Configuration, Bucket name: Enter whiztarget1 (Target bucket)
- Note: S3 Bucket names are globally unique, choose a name that is available.
- Region: From the drop down please Select Asia Pacific (Mumbai) ap-south-1
- Object ownership: Select ACLs disabled (recommended) option
- In the option of Bucket settings for Block Public Access, Uncheck the option of Block all public access. And, Acknowledge the same by checking the below option.
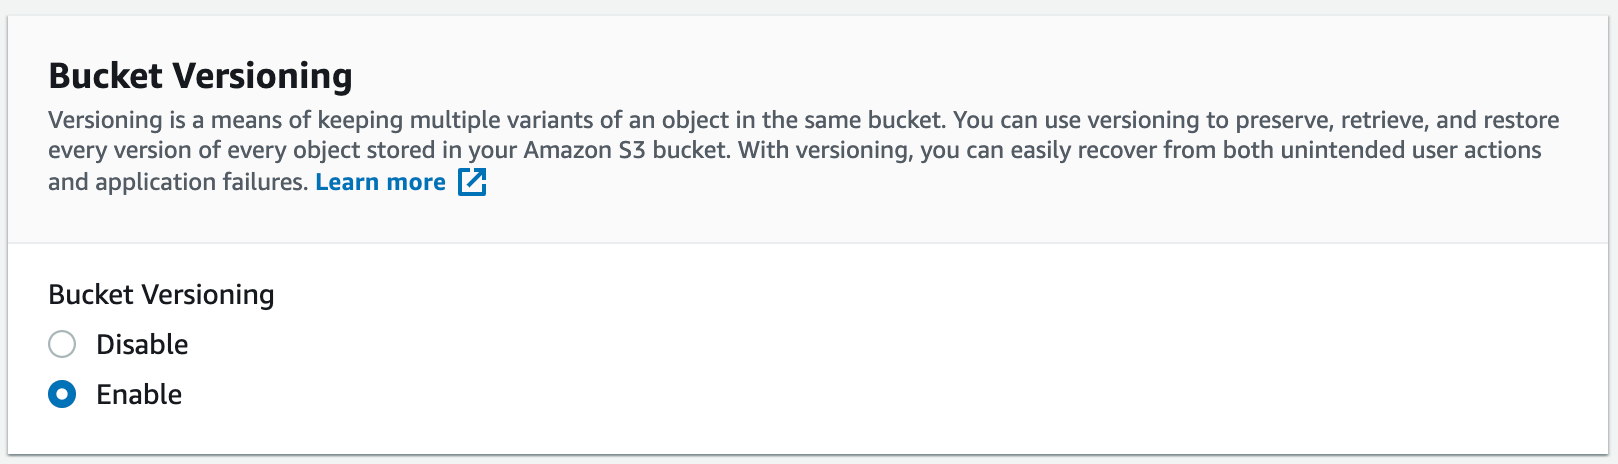
- In the Option of Bucket Versioning, Check the option of Enable.
- Keep everything default and click on Create bucket button.
- Both the Source and Target Buckets are created successfully.
Task 4: Enable Replication in Source Bucket and add a rule
In this task, we are going to create a replication rule for the source bucket and will specify the destination bucket.- Now go to Source Bucket and click on Management. Scroll down and select Create replication rule button.
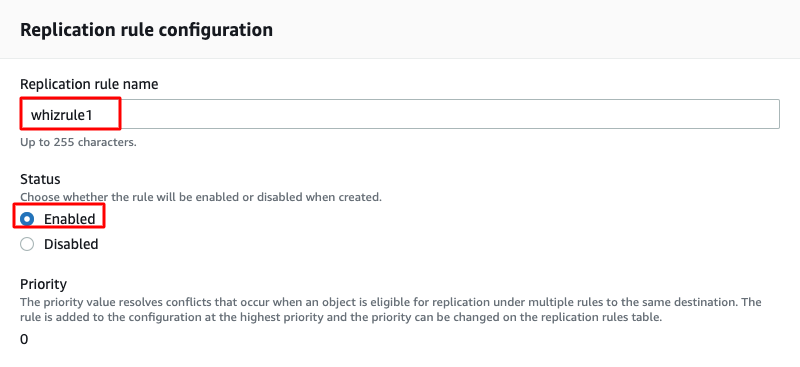
- Enter a rule name of your choice and keep the status as Enabled.
-
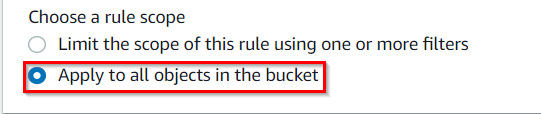
Choose a rule scope : Select Apply to all objects in the bucket
-
Under Destination, select choose a bucket in this account.
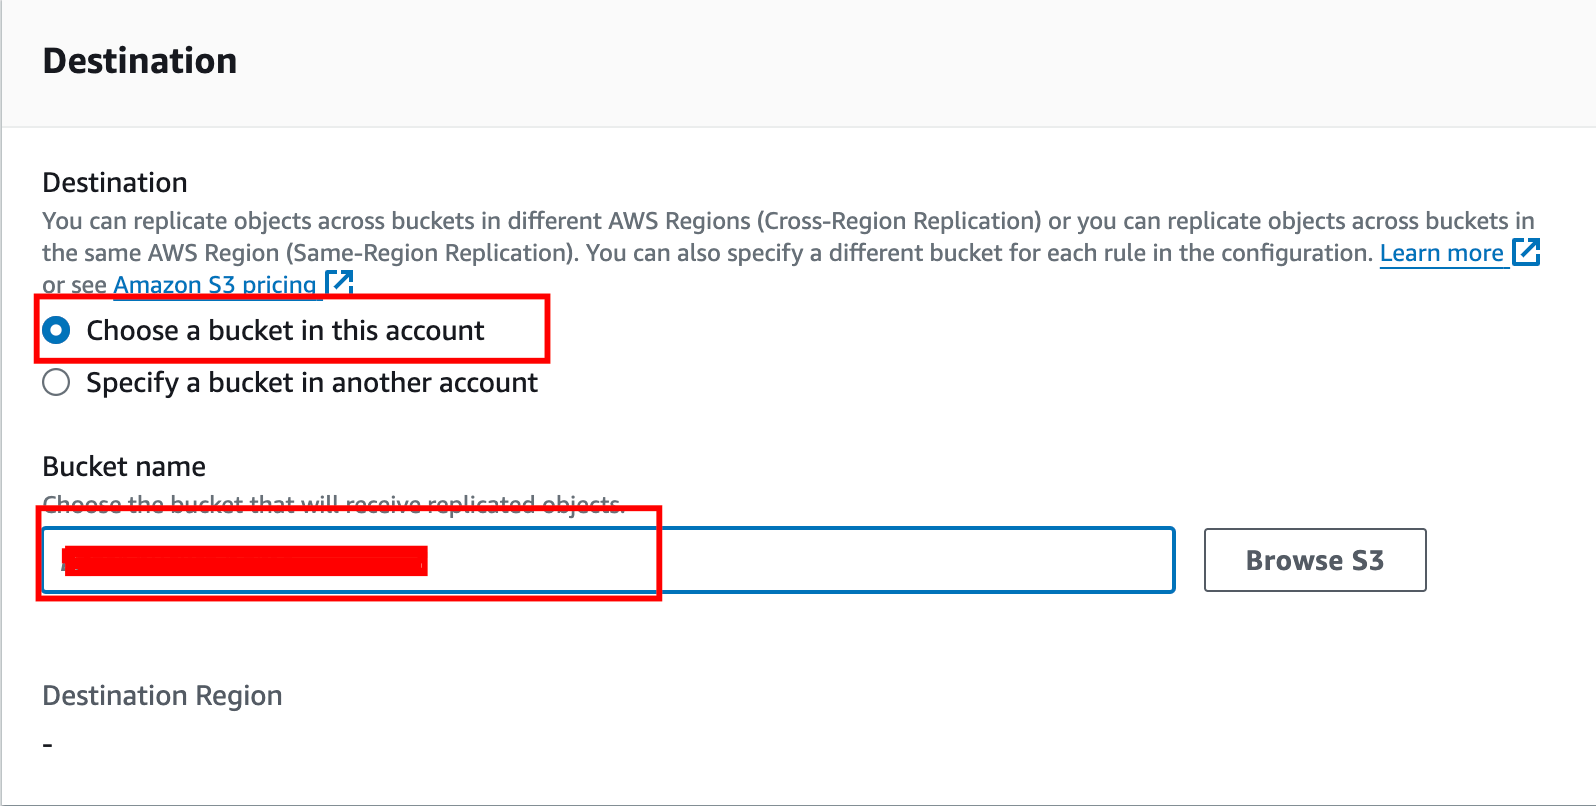
- In the search option enter the Mumbai region bucket name, don’t choose by browse the S3 option.

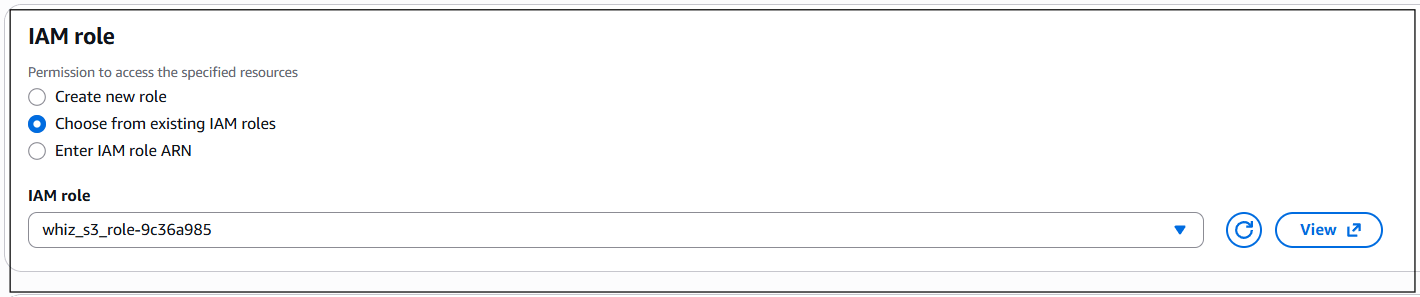
- Under IAM Role, Select Choose from existing IAM roles**,** and select whiz_s3_role<random.numbers>
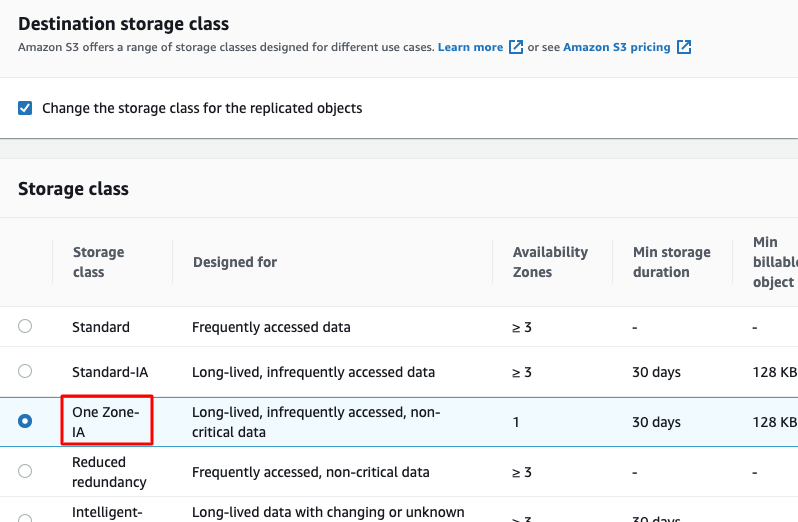
- Under the Destination Storage Class, select Change the storage class for the replicated objects and choose One Zone-IA.
- Leave everything as default. Review once and click on Save button. One Pop-up appears Select No, do not replicate existing objects and Click on Submit button.
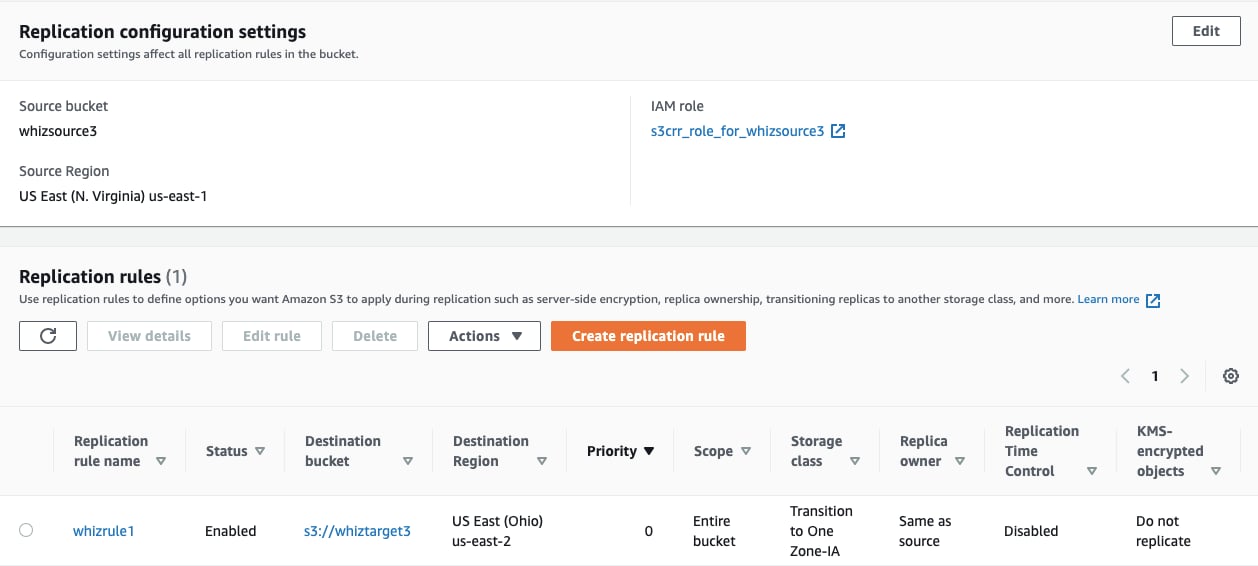
- Now navigate to the source bucket and upload an Object(.txt or .png) in the Source bucket by clicking on Add Files. Click on Upload.
- Click on the Add files button and upload any object from your local machine and click on Upload button.
- Navigate to your Target Bucket to see the replication. It may take up to 3-5 minutes for replication.
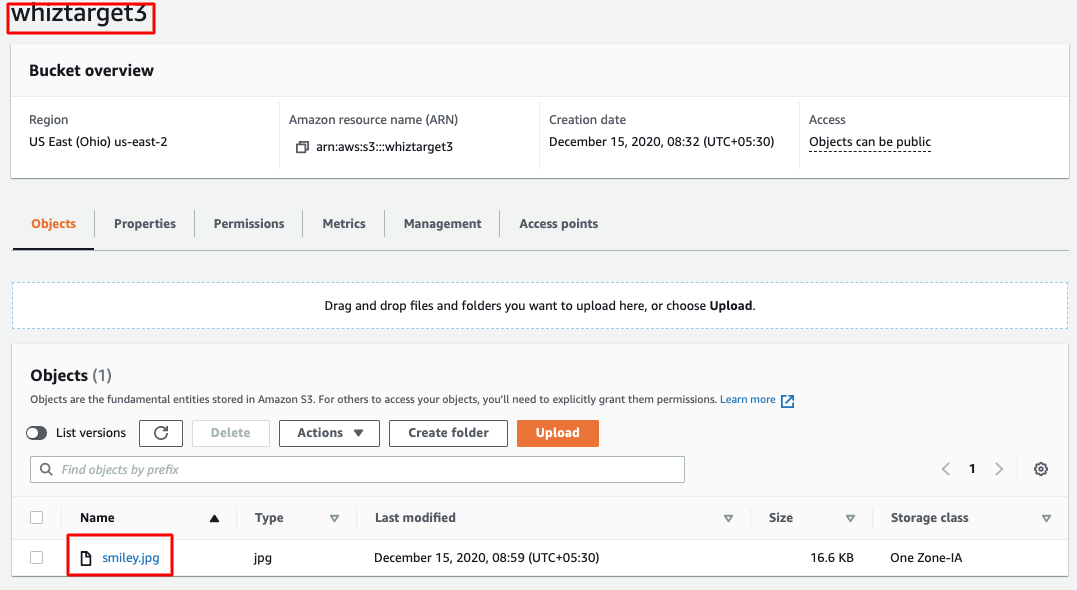
- Now you have successfully configured the Cross-Region Replication in S3 Bucket. Congratulations!
- Once the lab steps are completed, please click on the Validation button on the left side panel.
Do you know?
AWS S3 provides the ability to specify a replication time control (RTC) for cross-region replication. RTC allows you to define a service level agreement (SLA) for object replication, specifying the maximum time it should take for an object to be replicated to the destination bucket. This feature helps you ensure timely replication and maintain data consistency across regions.
Completion and Conclusion
- You have successfully created the S3 Source Bucket.
- You have successfully created the S3 Target Bucket.
- You have successfully Tested Cross-Region Replication Configuration.
End Lab
- Sign out of the AWS Account.
- You have successfully completed the lab.
- Once you have completed the steps click on End Lab from the IP Lab Portal dashboard.
What gets checked
When you press Check my work, the platform verifies each of these:- Create Public AWS S3 Bucket — Check whether a Public S3 Bucket created or not
- Enable S3 Bucket Versioning — Check whether S3 Bucket versioning in Enabled or not.
- check s3 object — Check whether an object is uploaded to the S3 bucket.
- Create a S3 Replication rule — Check whether a S3 replication rule with destination bucket name is created or not.